E1
summer work presentation and idea proposal:
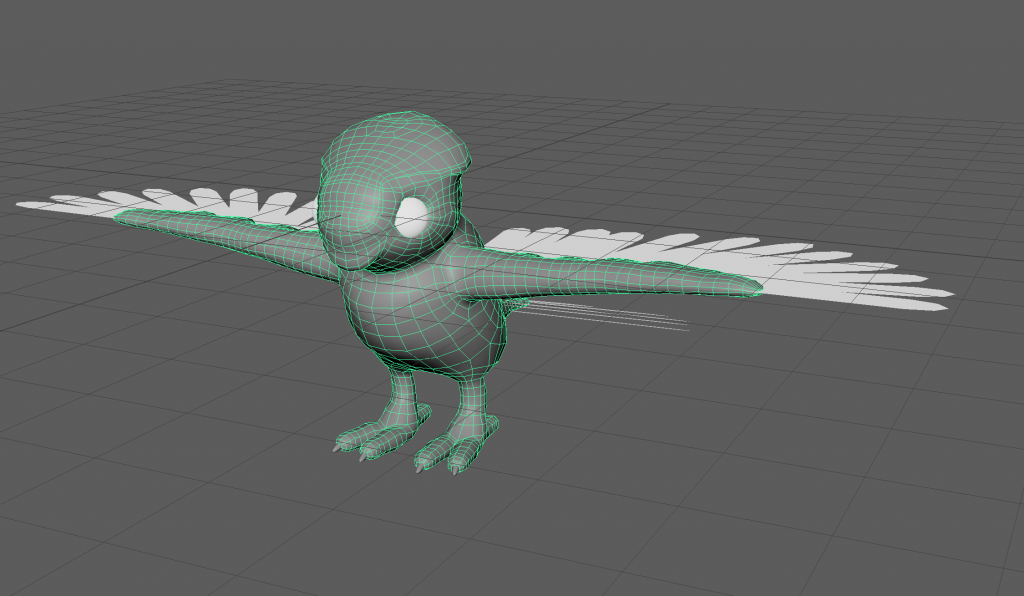
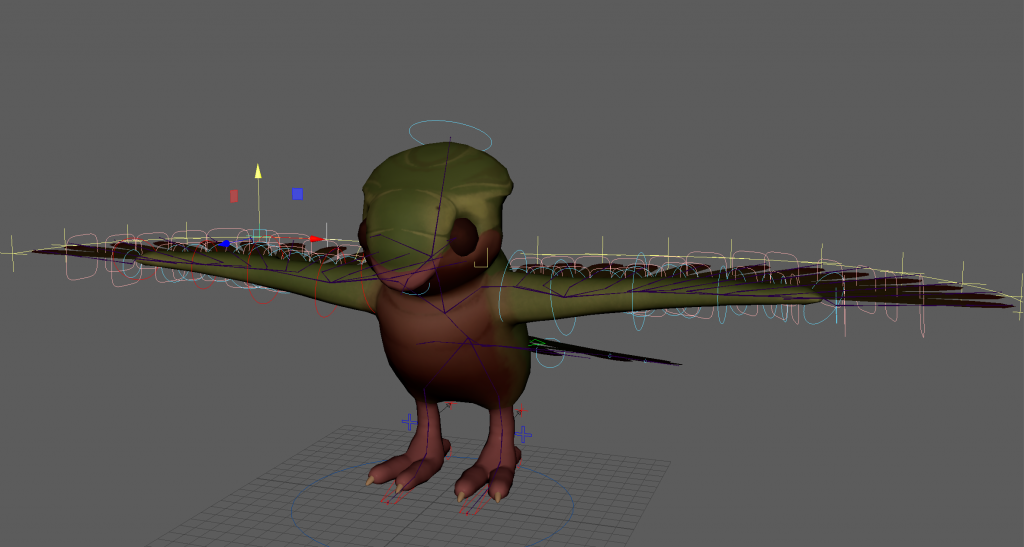
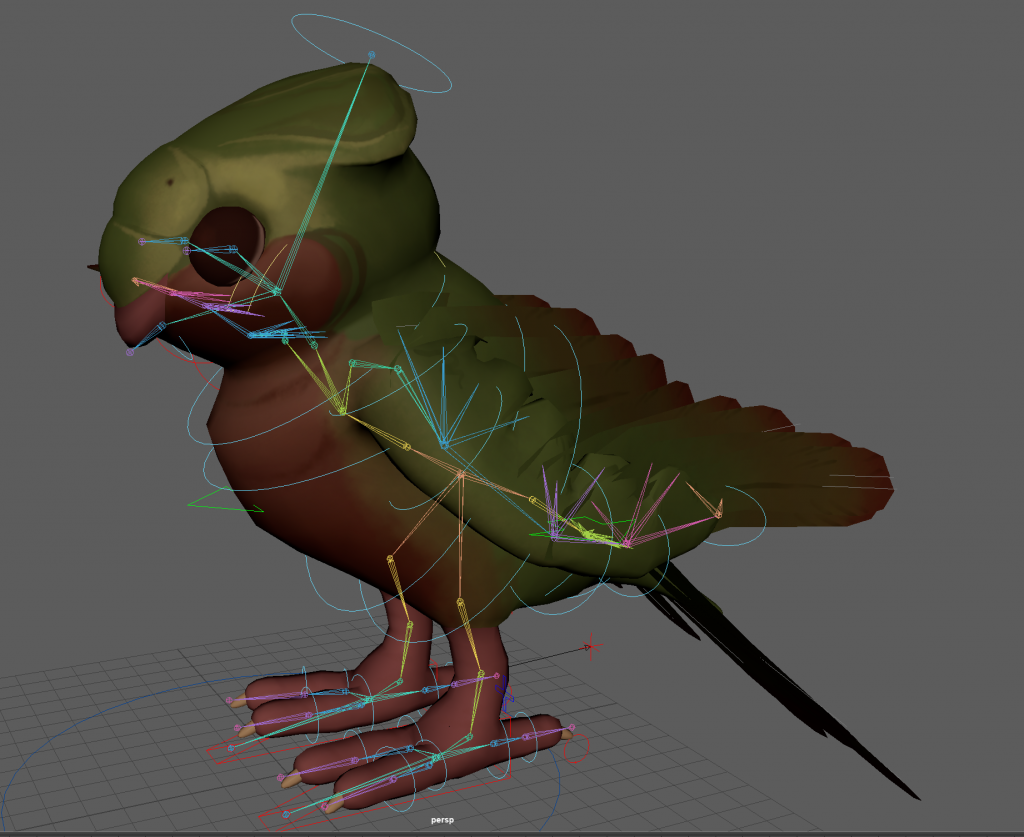
Bird test model to see how i would model/ rig wings as i am planning to have birds flying around my creature and this also finishes off my summer project.
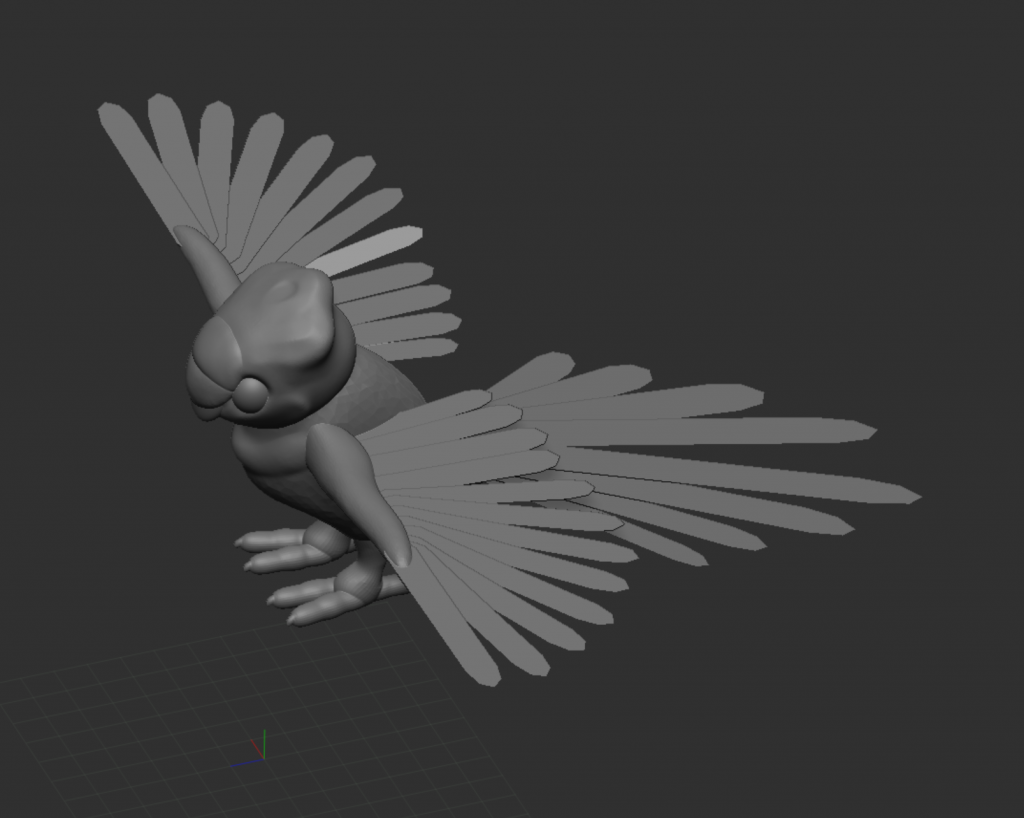
retopologised in maya. i lost some detail as i didn’t bake the high poly version. i decided to paint the detail back in but it would have been faster and more accurate to bake it.
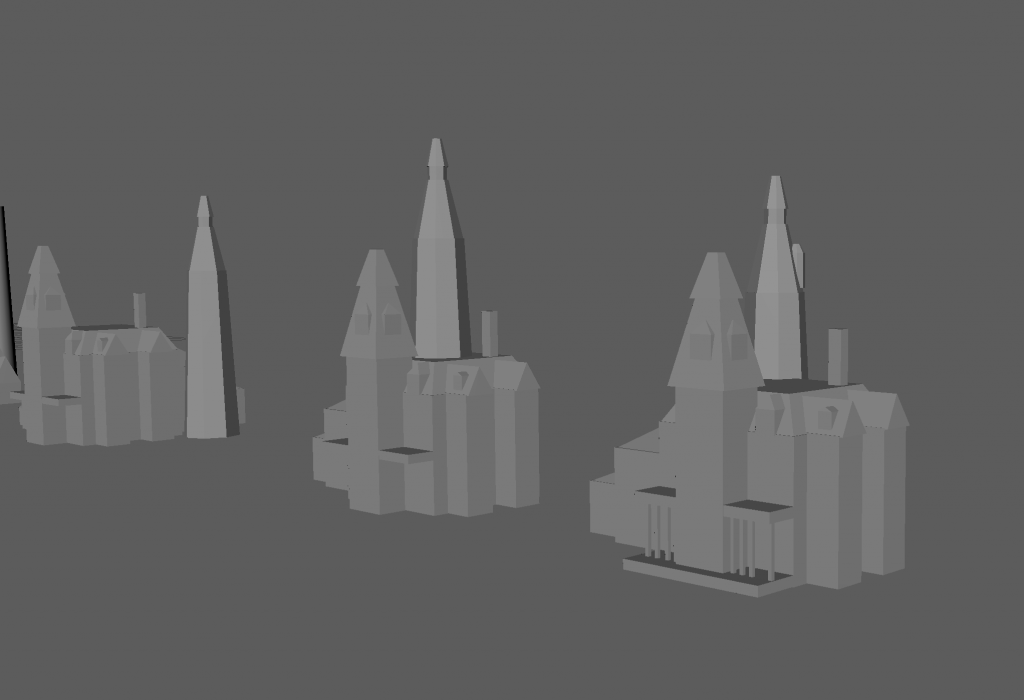
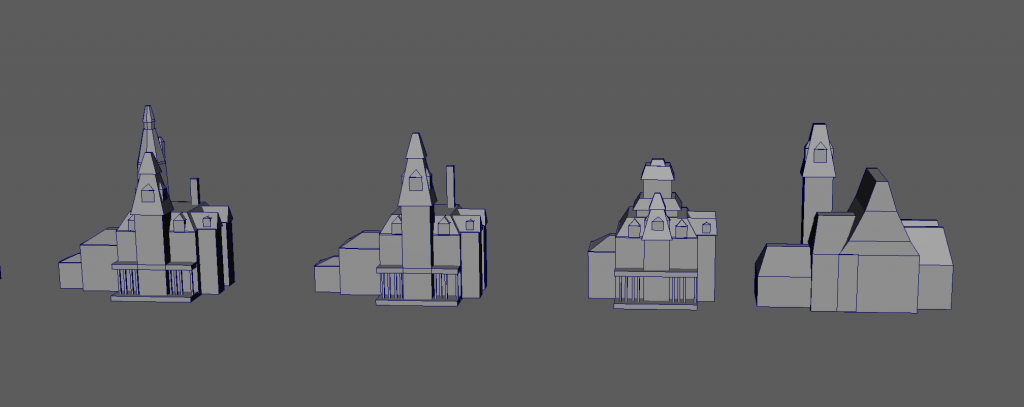
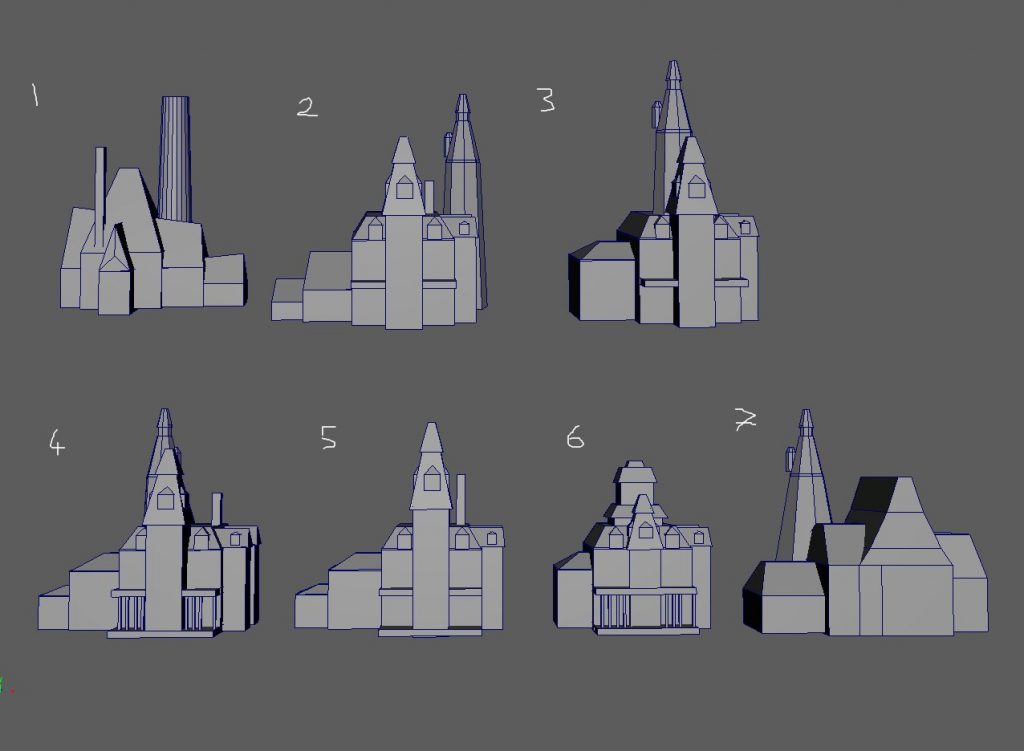
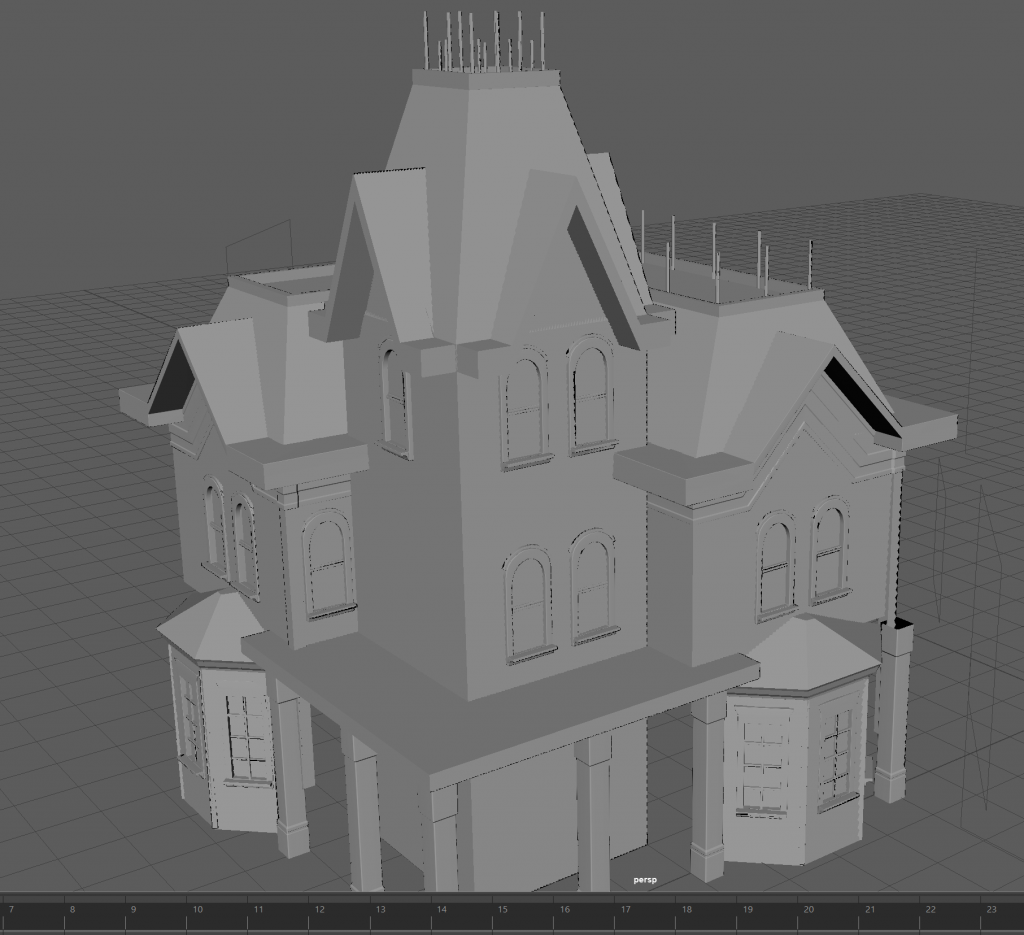
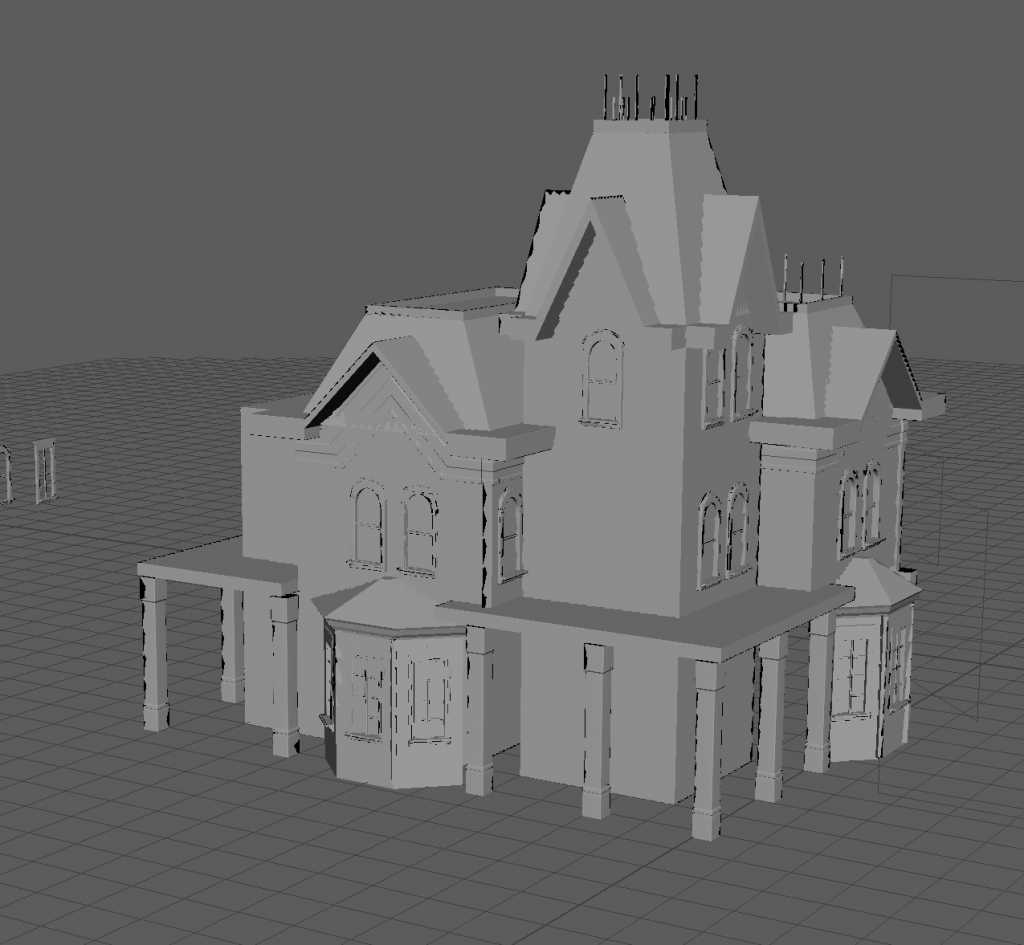
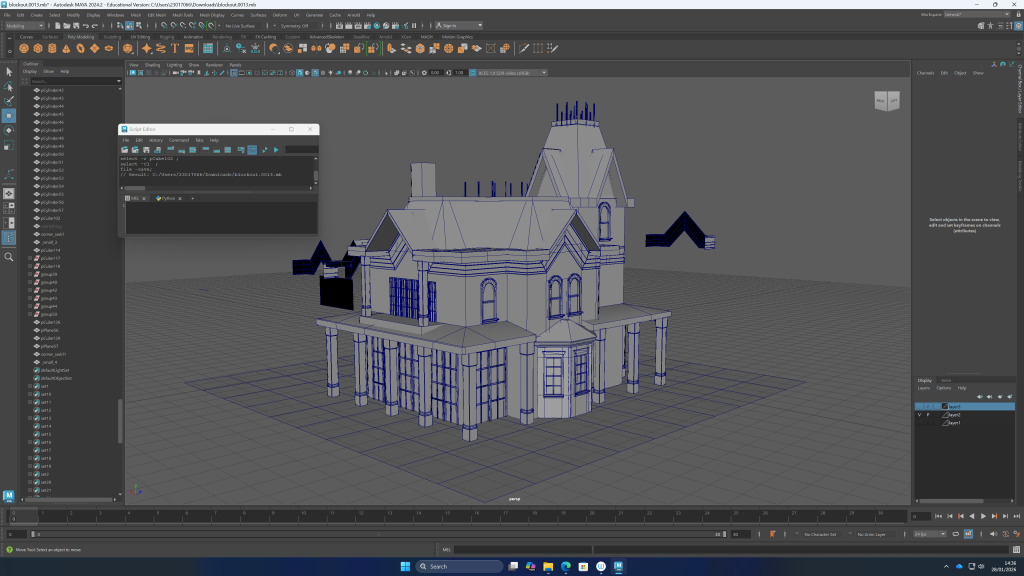
mansion block outs in maya
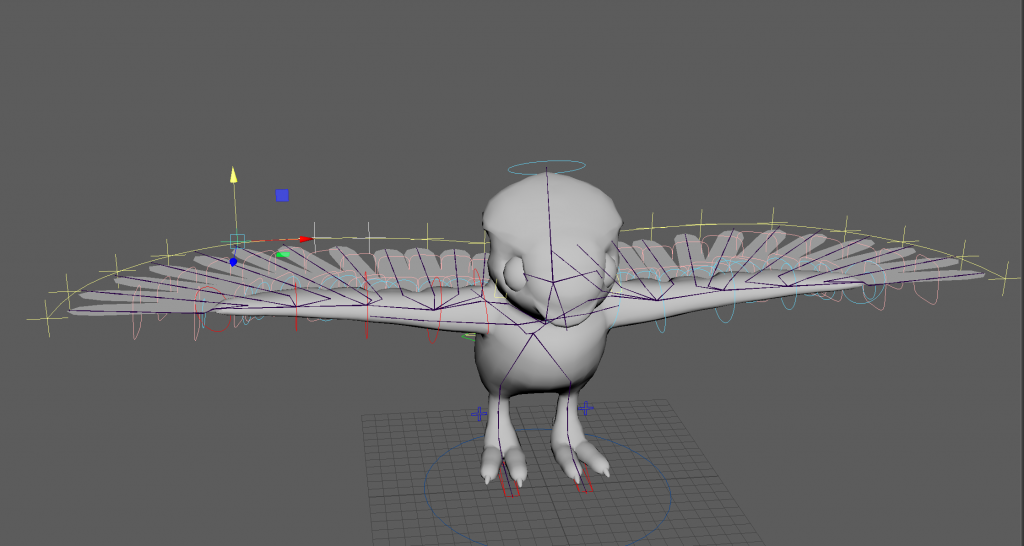
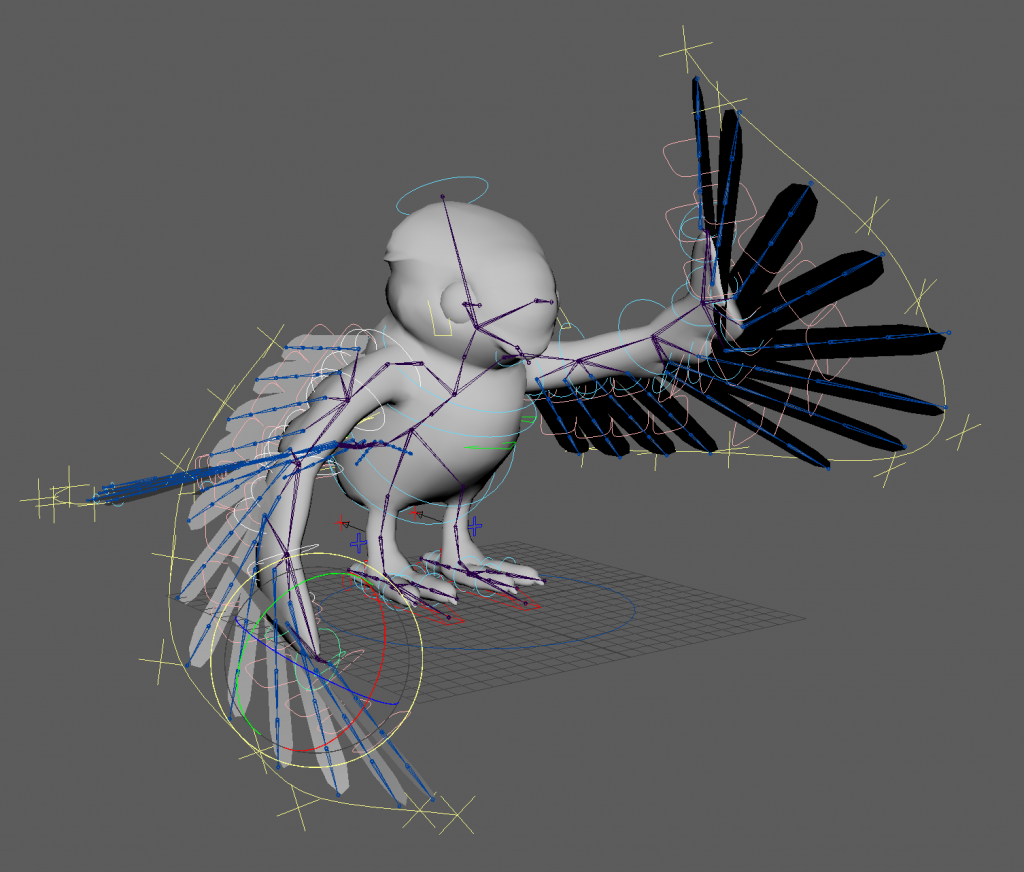
rigging the bird in maya with advanced skeleton using this tutorial series:
with textures
with weight paints, some feathers go through the mesh because i made them overlap too much. this is something i will avoid for the bird meshes in the project. advanced skeleton curve guide attribute combined with the twist/ bendy attribute for the wing feathers is a good combination and i think i could use it for long fur and clothing as well.
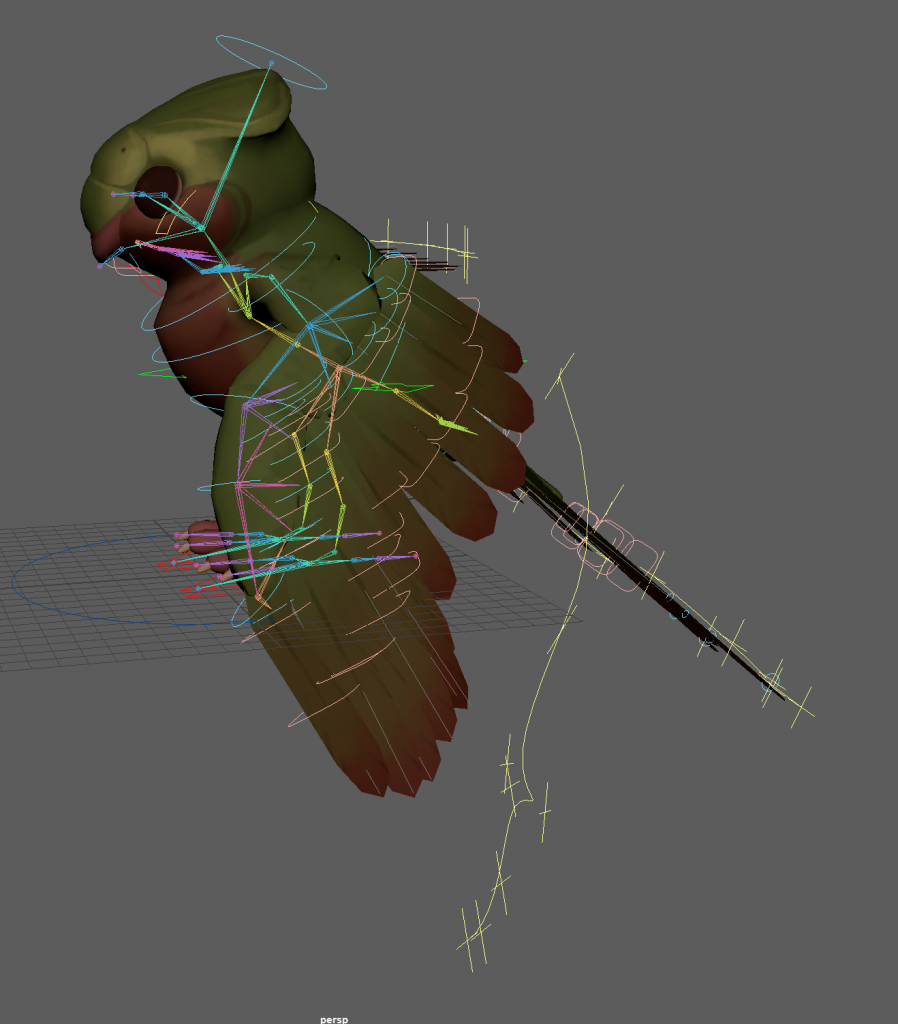
trying to work out how the wings should fold back:
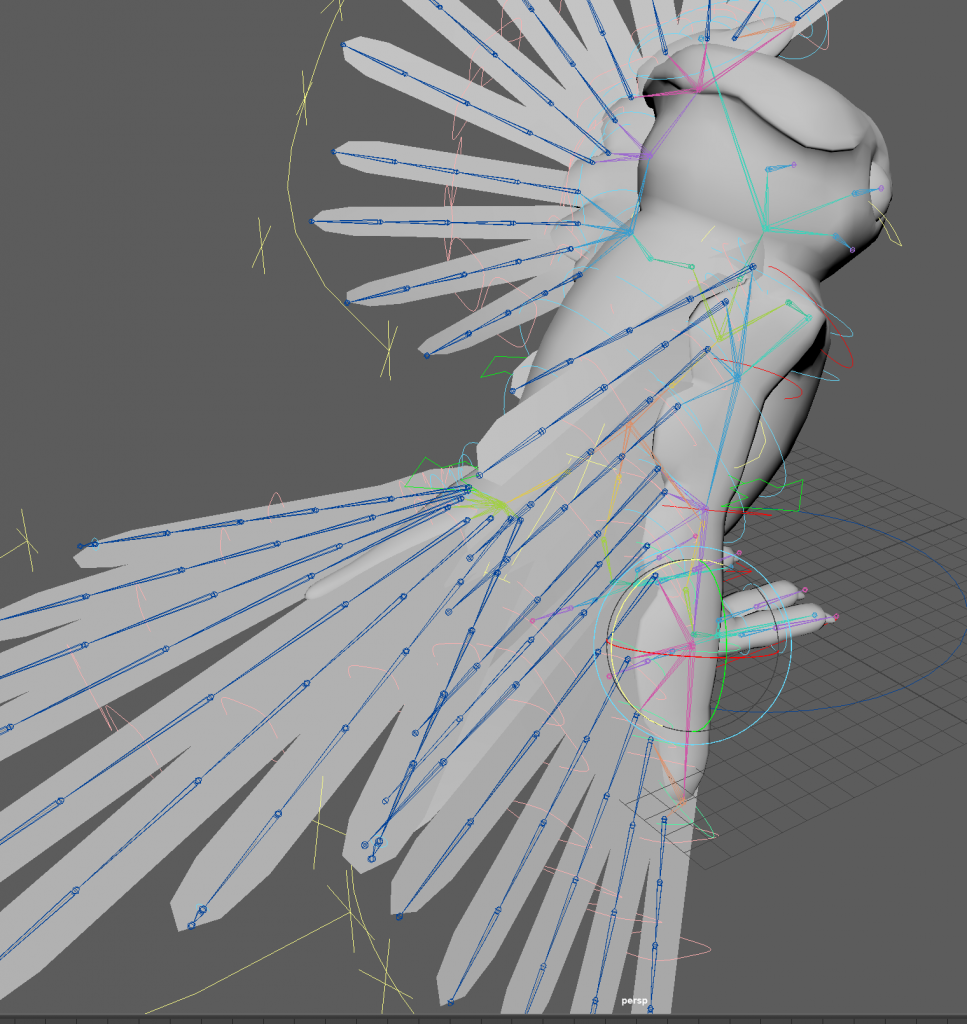
i think i got the bone placement of the arms wrong, and didn’t consider how the wing would bend and deform enough.
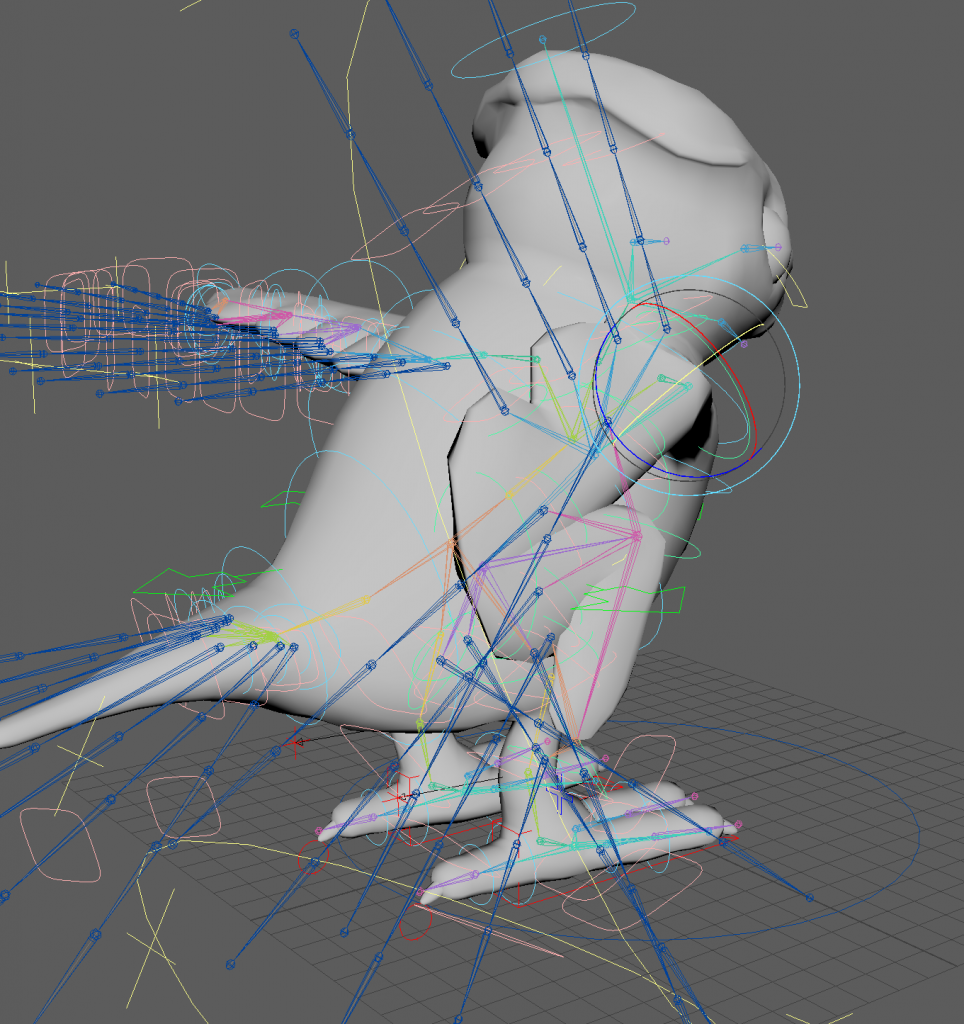
a solution i found was to, instead of folding the wing in a realistic way, lay it flat along the body, moving joints closer to each other if needed, and using the curve guide to position the feathers in a way that looked like the wing was tucked away. this was convincing enough and will work for the smaller birds im planning to have in the fmp. the only issue was that rotating the feathers caused parts to stick out of the arm of the wing. to make sure this doesn’t happen in the real thing i can either add another layer of feathers over the main ones or i could not overlap them with the arm so much.
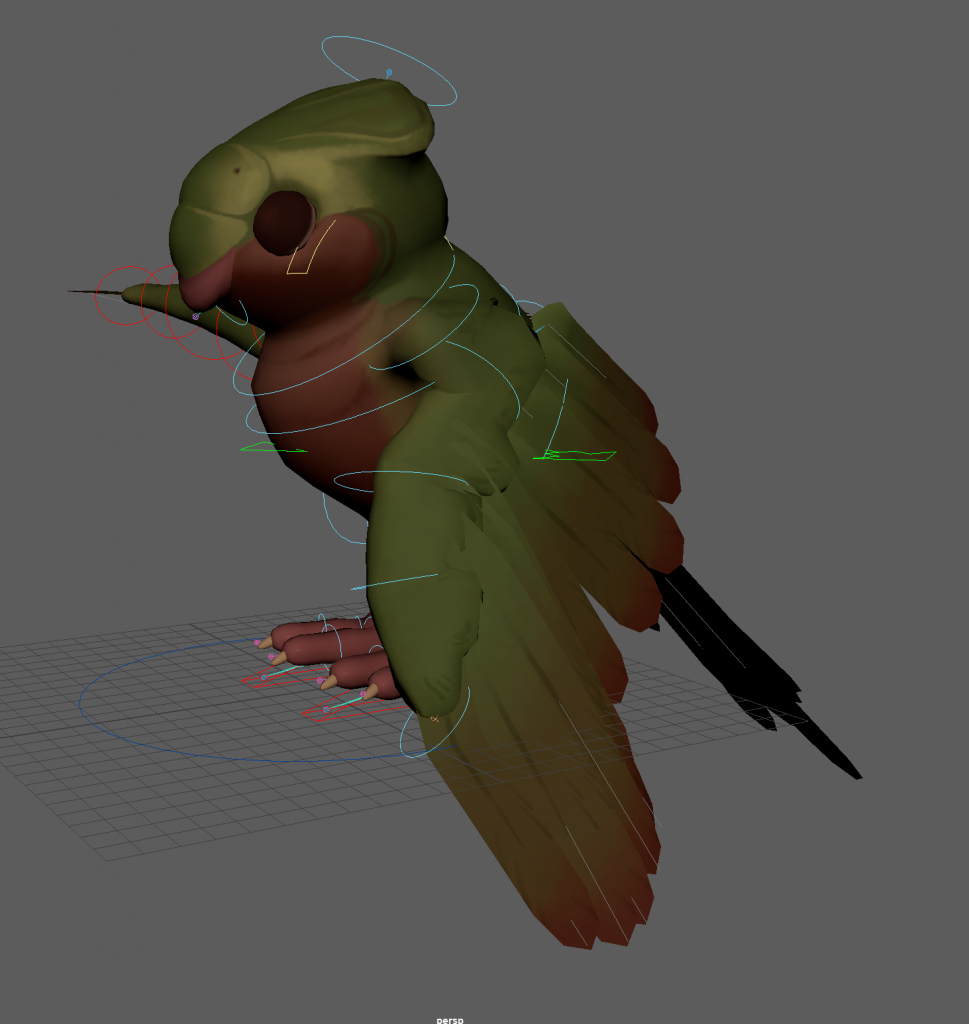
from here i could also position the wing into a pose that was more like the concept art.
i also decided to learn about blueprints in unreal engine to make it easier when putting together the scene. i followed this tutorial series:
as i was following the tutorials, i took notes explaining what each node does so i can refer to this if i need to follow a tutorial involving blueprints when it comes to building my scene in unreal engine.
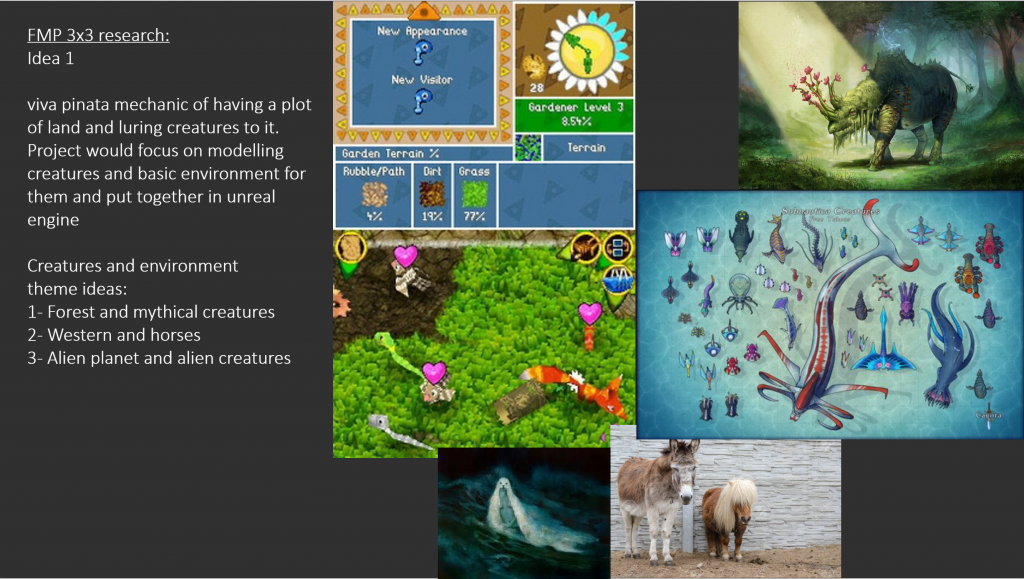
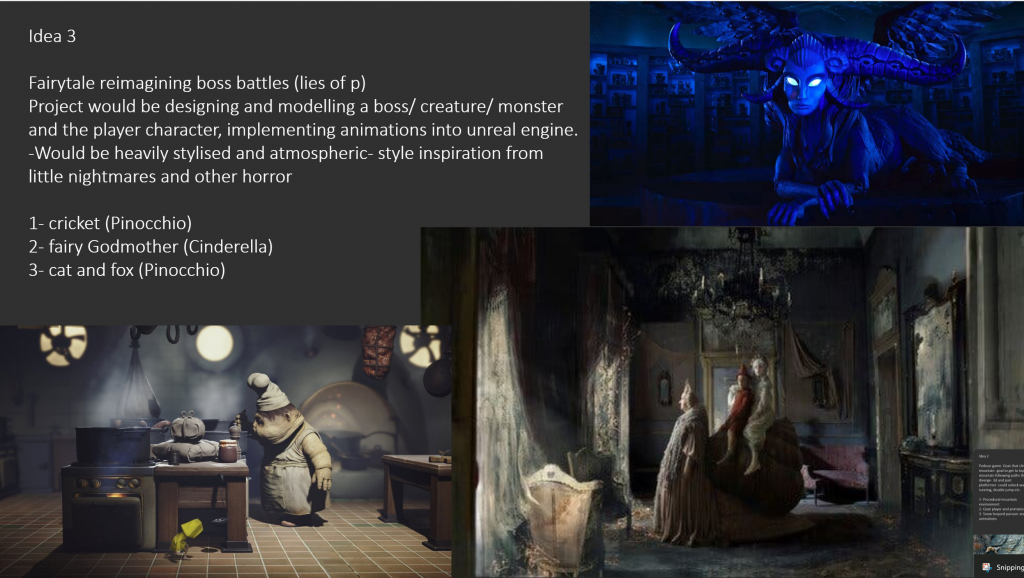
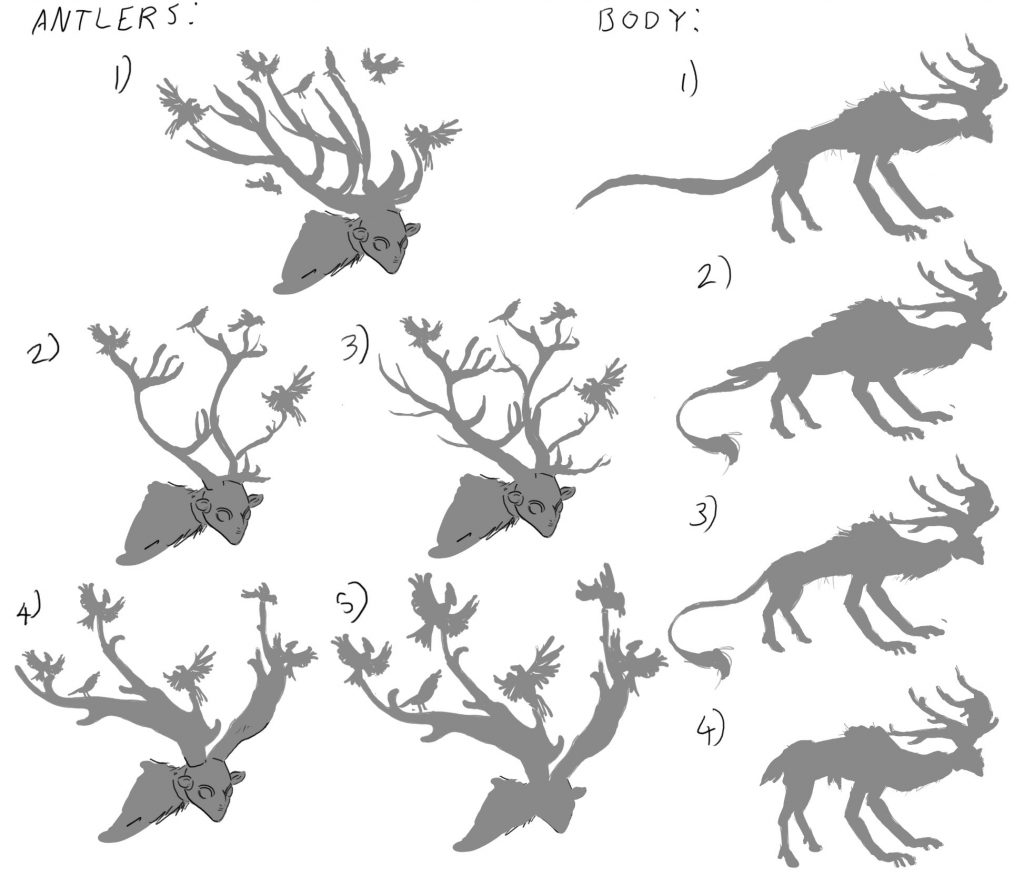
Concept idea:
ideas i presented in the 3 by 3 presentation:

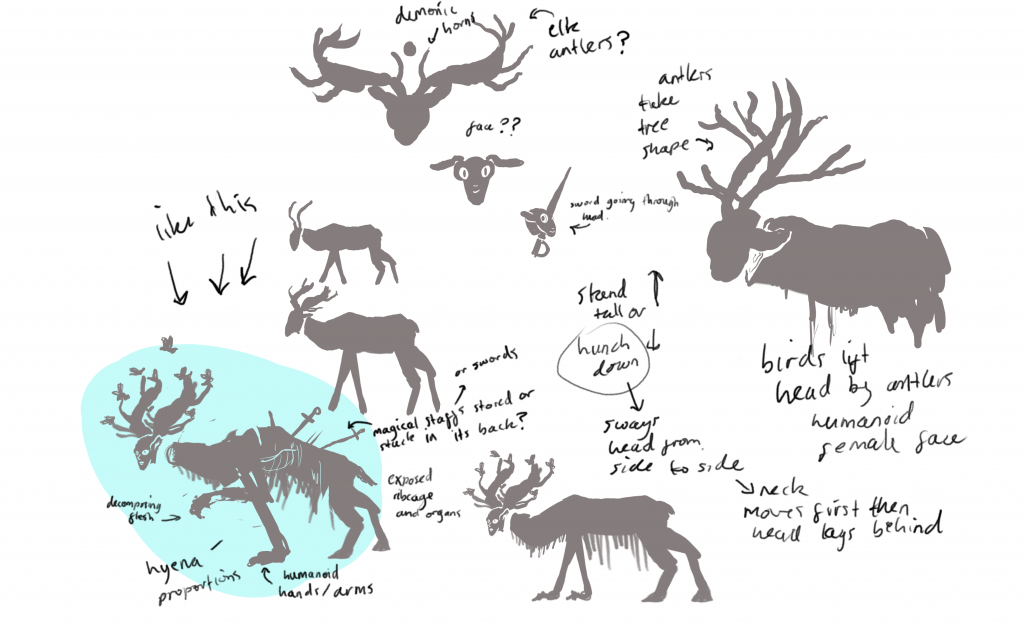
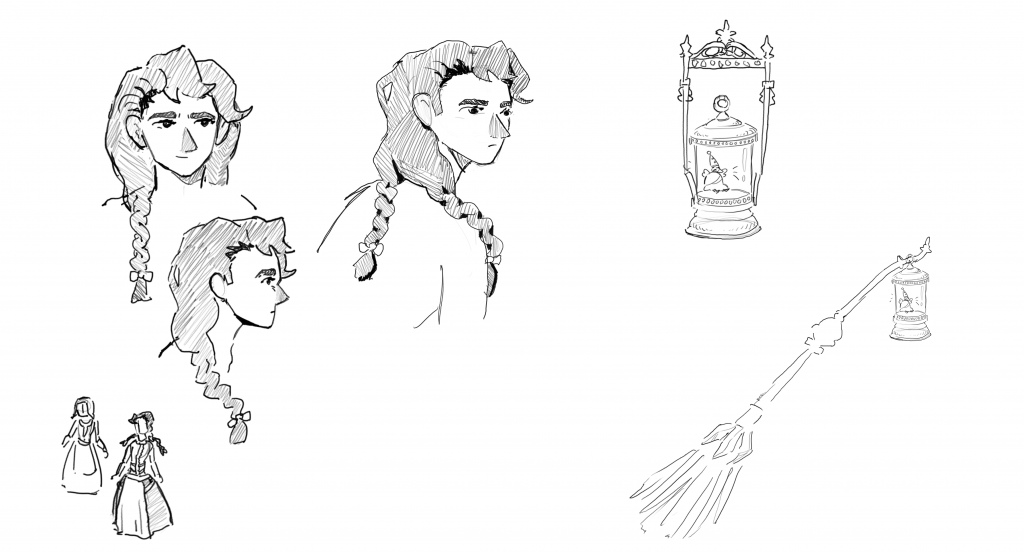
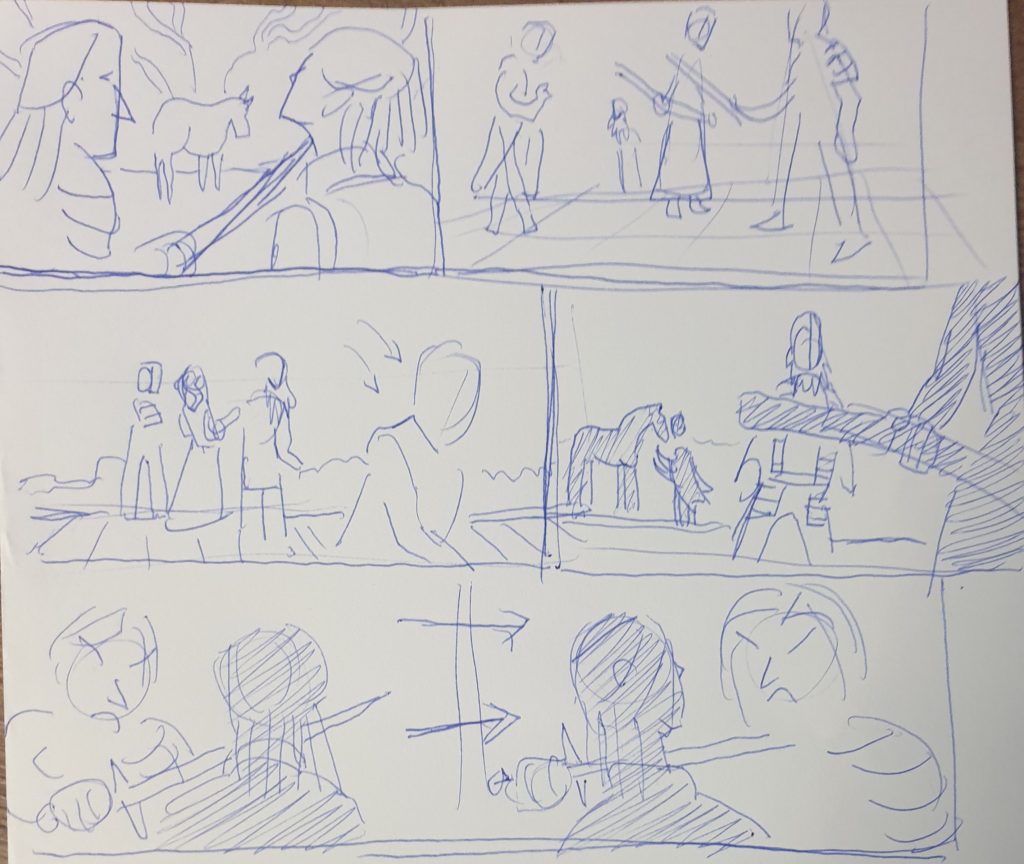
sketches of idea 3:
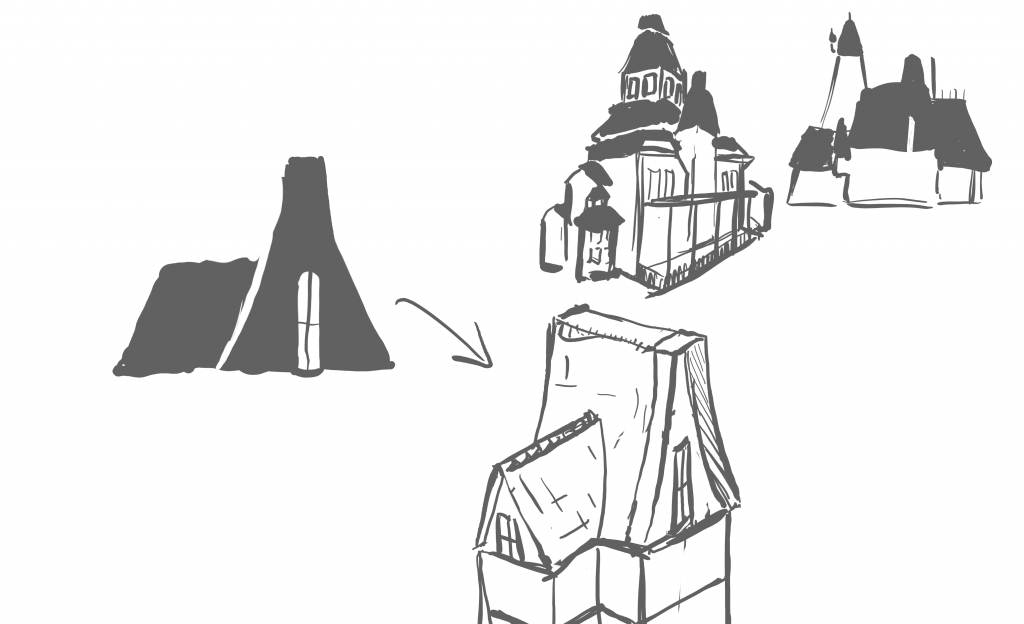
more mansion block out ideas in maya
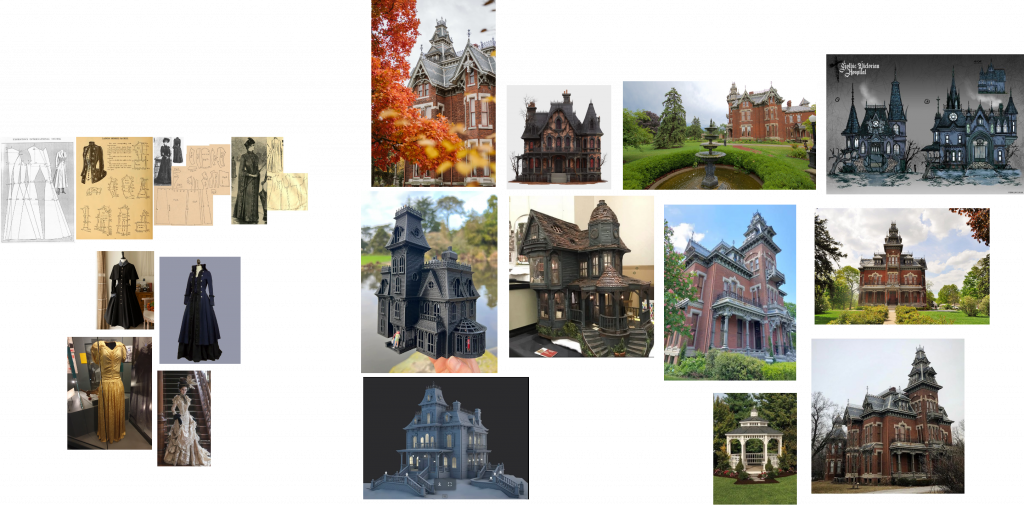
references for house and player character:
block out of player character idea
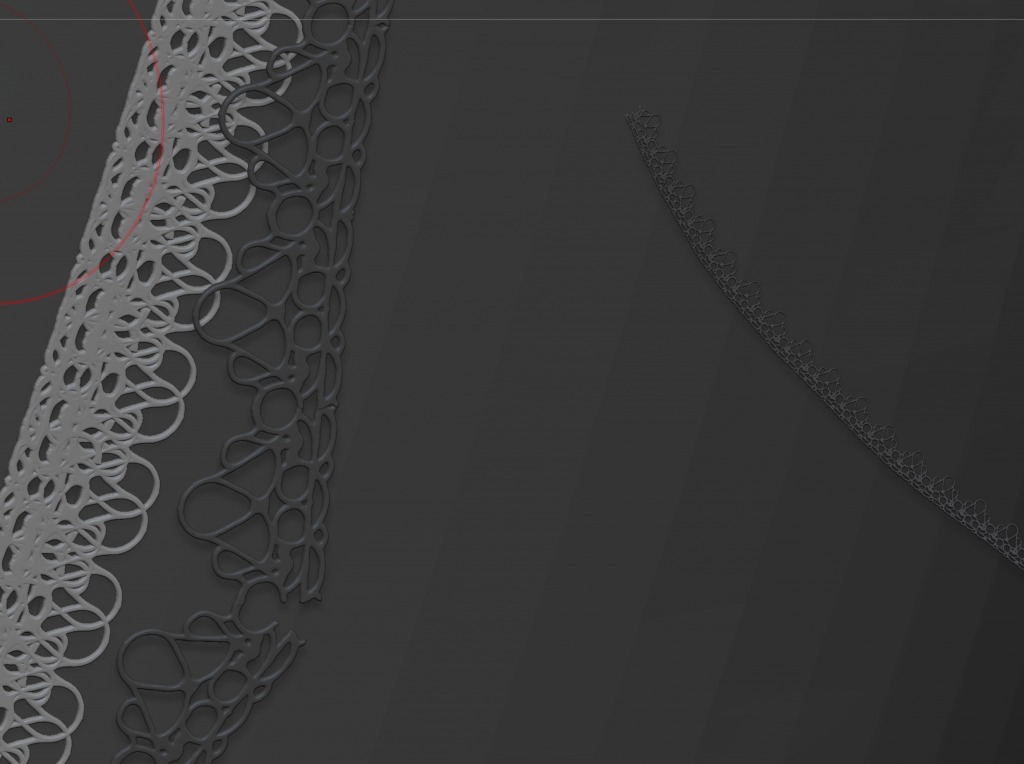
Experiments with making lace using IMM brush and curves in Zbrush
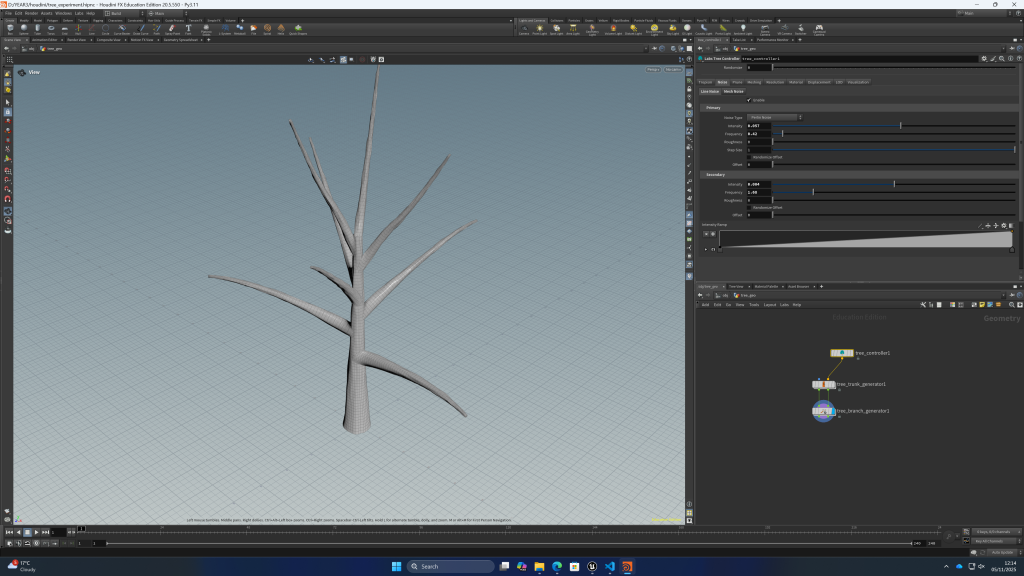
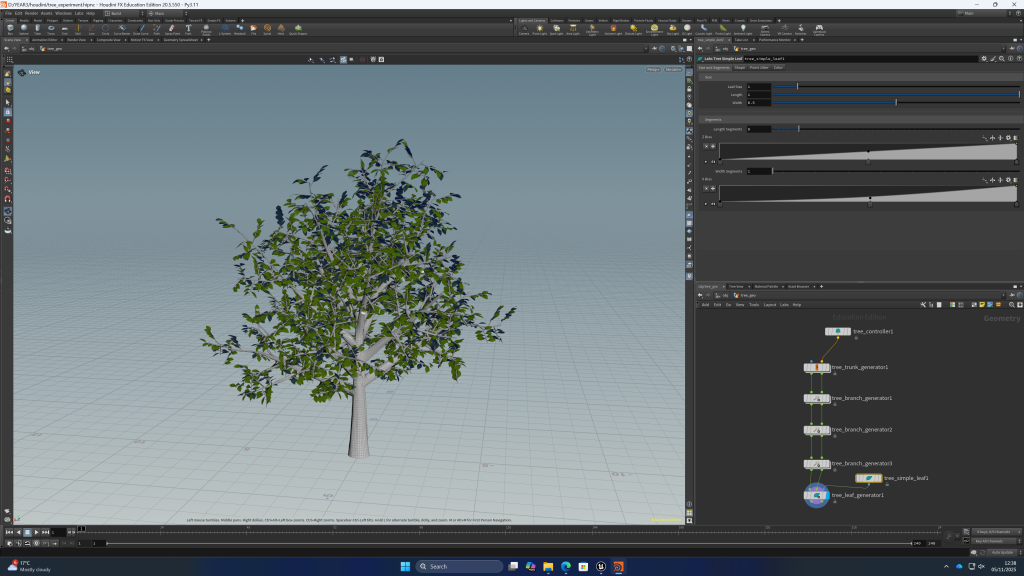
the mansion will be in a forest environment, i think it will be efficient to try and make procedural trees with Houdini following this tutorial:
using side fx labs i can quickly make trees for the forest environment, it will be more unique than using quixcel assets and i think i can make the environment more interesting this way
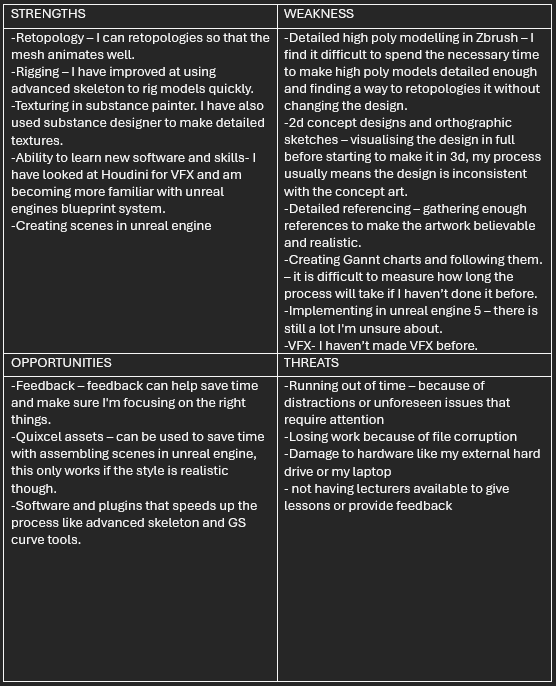
my swot analysis:
Storyboarding workshop
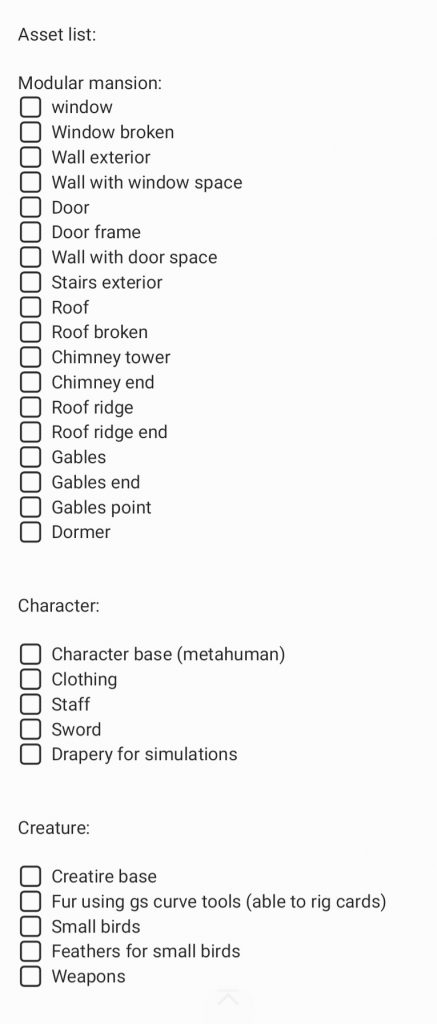
more planning: a Gannt chart I made in excel and an asset list
i also made a simpler version of the asset list on my phone for convenience
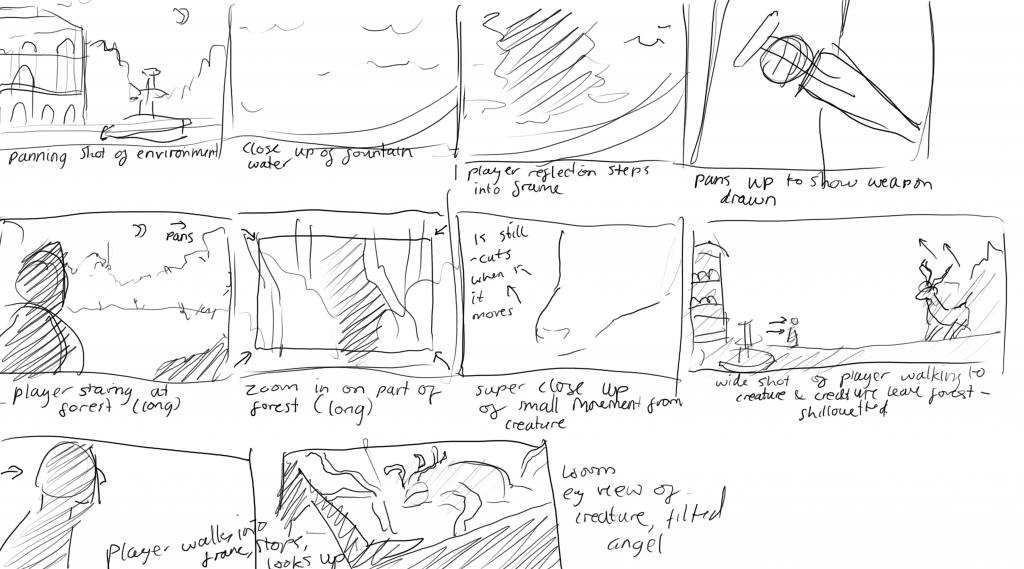
my rough storyboard for the cutscene. this helped me decide which elements would be needed in the final outcome, including the fountain, weapon, forest, player, and creature
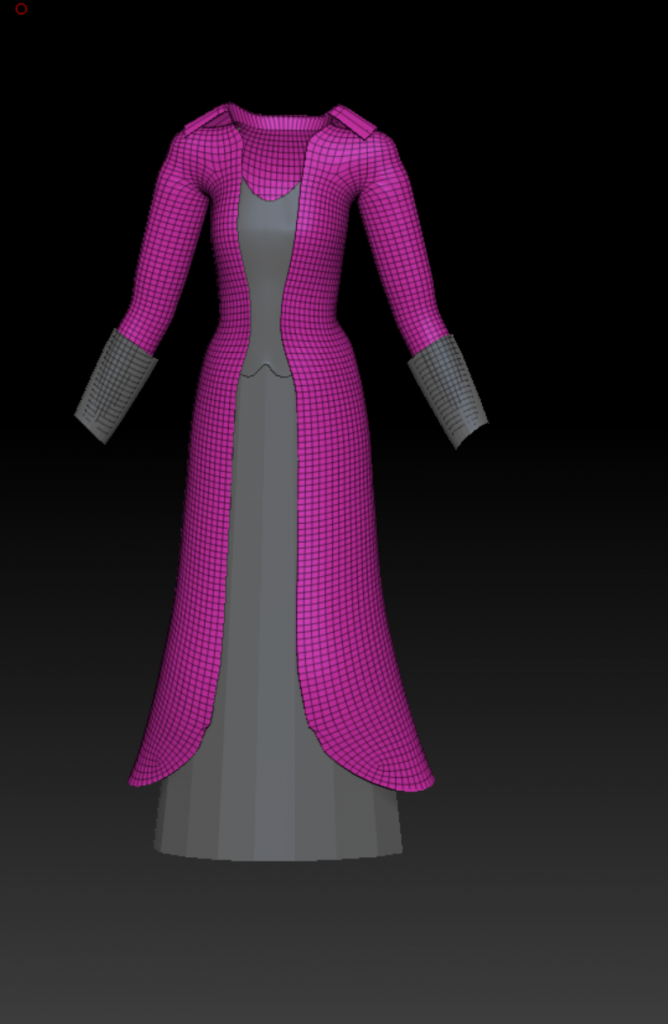
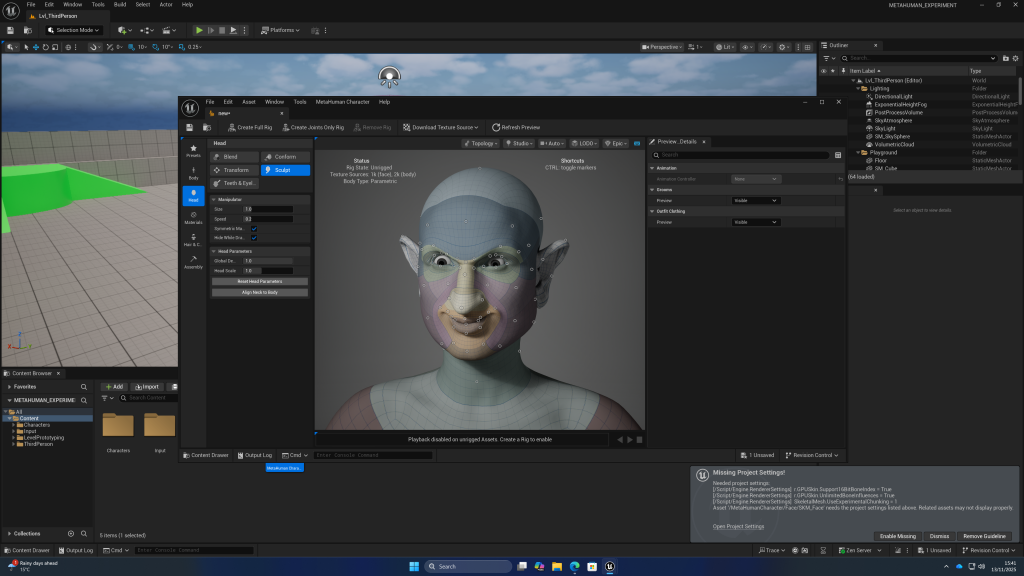
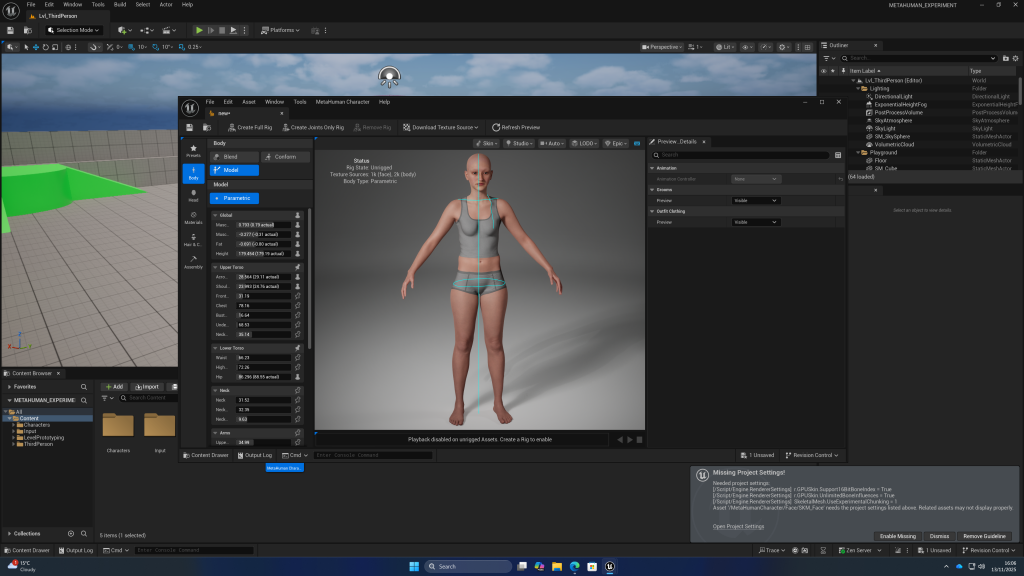
metahuman research: after looking into it, it seems that to use the metahuman rig the clothing should also have the exact same rig, and be weighted perfectly to prevent overlapping. this seems like it would be very time consuming and frustrating, so I have decided to just use metahuman for the base body, face, hair, and textures and not include the rig. I will make the rig with advanced skeleton. this way I can delete to geometry of the metahuman below the clothing, and have it be a mostly watertight mesh.
alternatively there is a software called Metatailor, which may be worth considering. i think i will first export the metahuman with no rig, make the clothing around it, and try this software, but if it doesn’t work well enough i can go back to my original plan.
it might be worth trying to test out the process shown in the video before i commit to anything
modular assets research:
this video was so useful, it shoes how you can easily make corner pieces which was something i have done slowly in the past, and it shows how the texture was made tile-able. it also explains how decals work.
i also looked at some existing modular buildings in unreal engine to see how they were used in versatile ways. I noticed how a lot of things overlap into the mesh, this isn’t noticeable and will save time. I also noticed that most small details are textures with normal maps, no modelled into the mesh

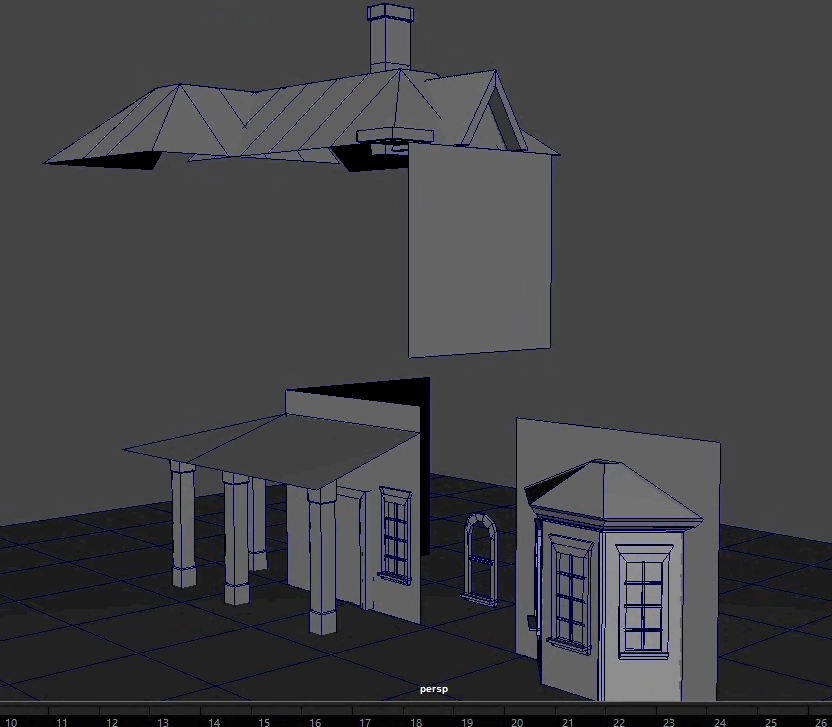
i started blocking out some basic modular pieces for the mansion:
at 15:30 this video talks about what grid size works best, meters are suggested
snap pivot points to corners and always snap to grid
test kit pieces in maya to make sure its working together
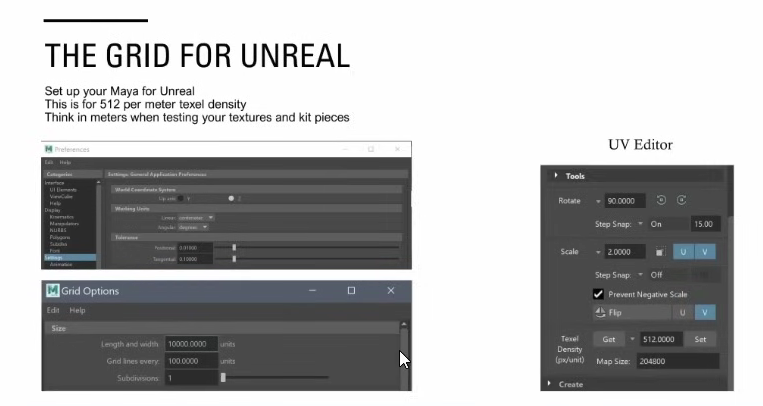
this video also says that 4 meters across on the grid is the same as a 2048 texture
so at first its recommended to make the pieces around 4 meters
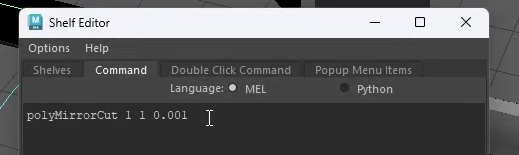
also shows the script for the mirror tool used for making corners:
looking into things brought up in the video above but not fully explained:
this was helpful for understanding trim sheets
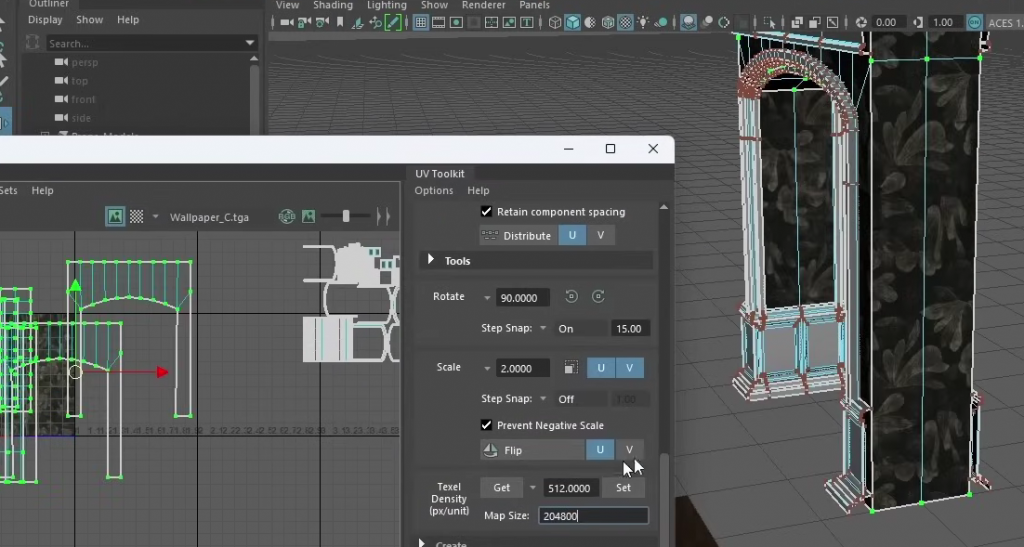
in this example the Texel density is set to 512 and the map size is 204800. because the asset is exactly 4 meters wide it tiles perfectly, as the texture repeats every meter
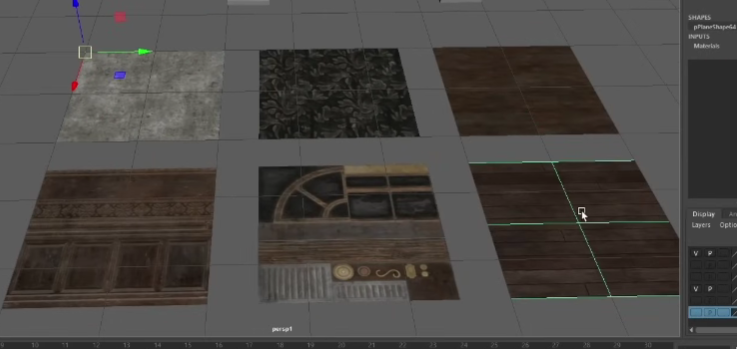
the size of the actual textures used are 1024 and its displayed in the video on 2m by 2m plains
rough blockout of creature in zbrush:
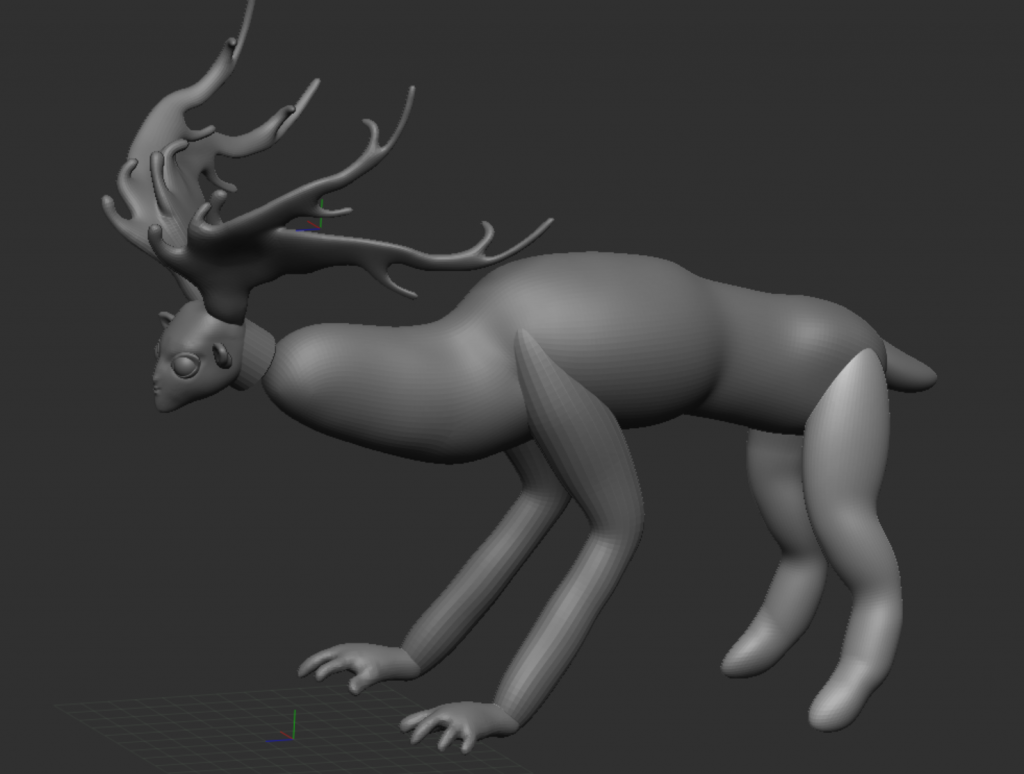
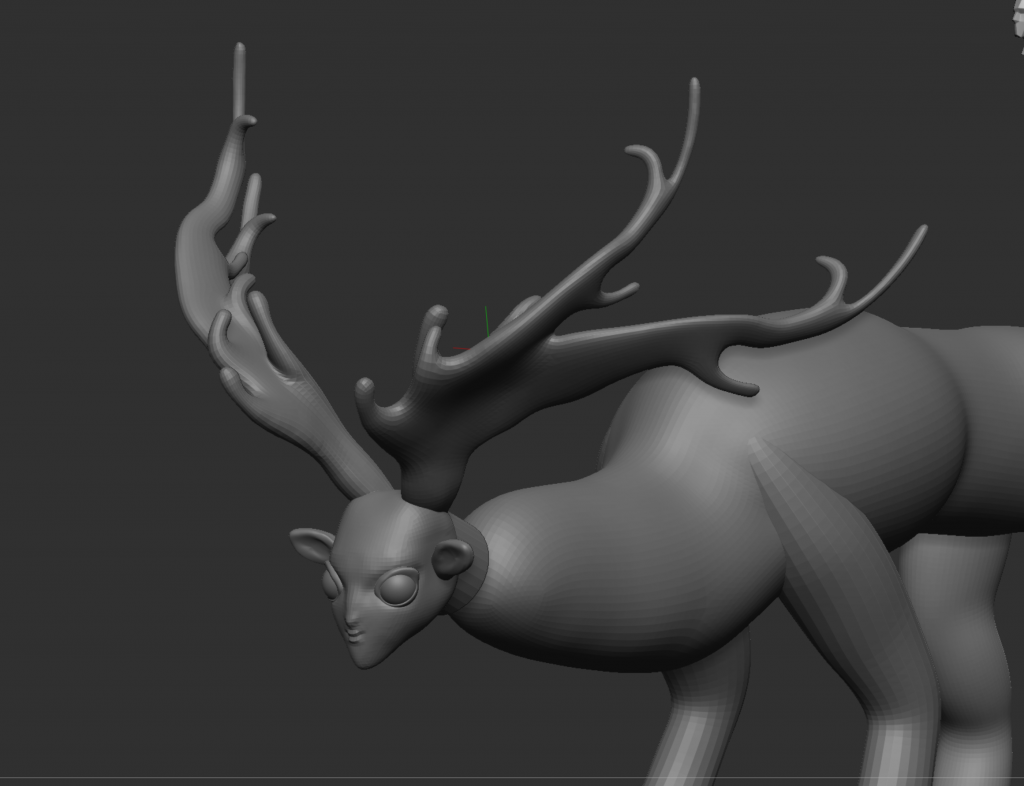
i think i need to find a way to make it more realistic, i will experiment with proportions and add more detail. it looks strange however and i think its in line with the rough concept art
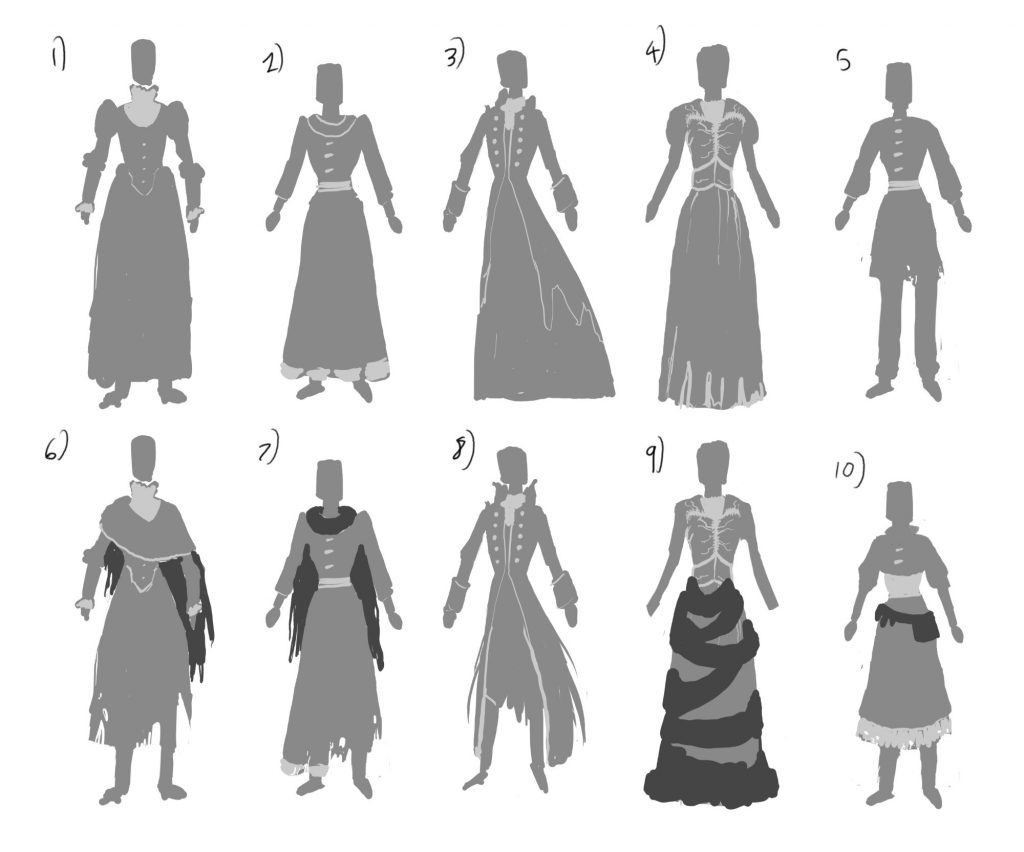
Peer feedback:
options for peers to choose from
Rigging workshop:
workshop demonstrated how to use advanced skeleton for face and body rig, as well as how to set up the mesh properly to avoid issues
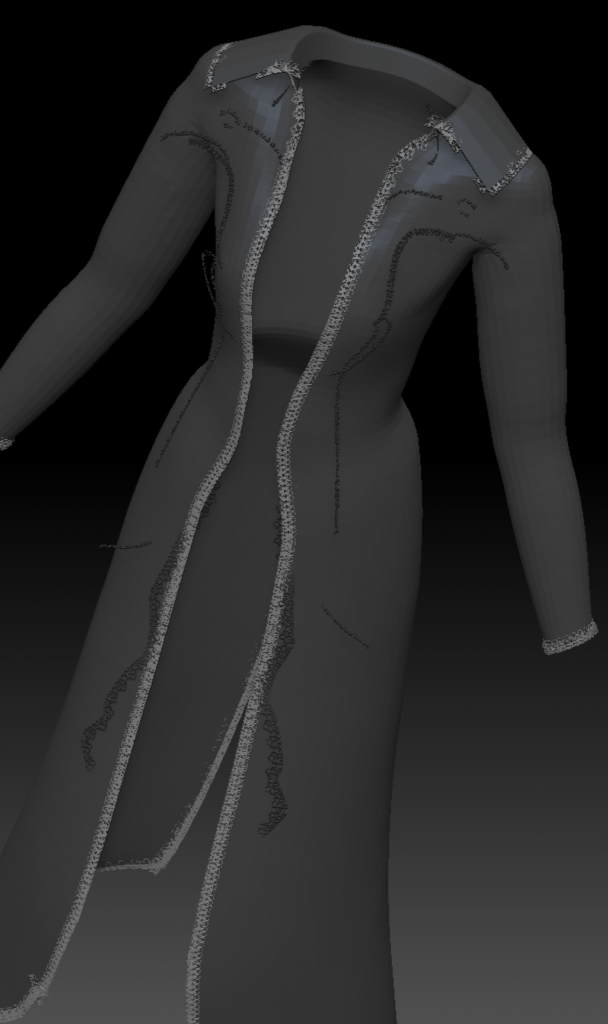
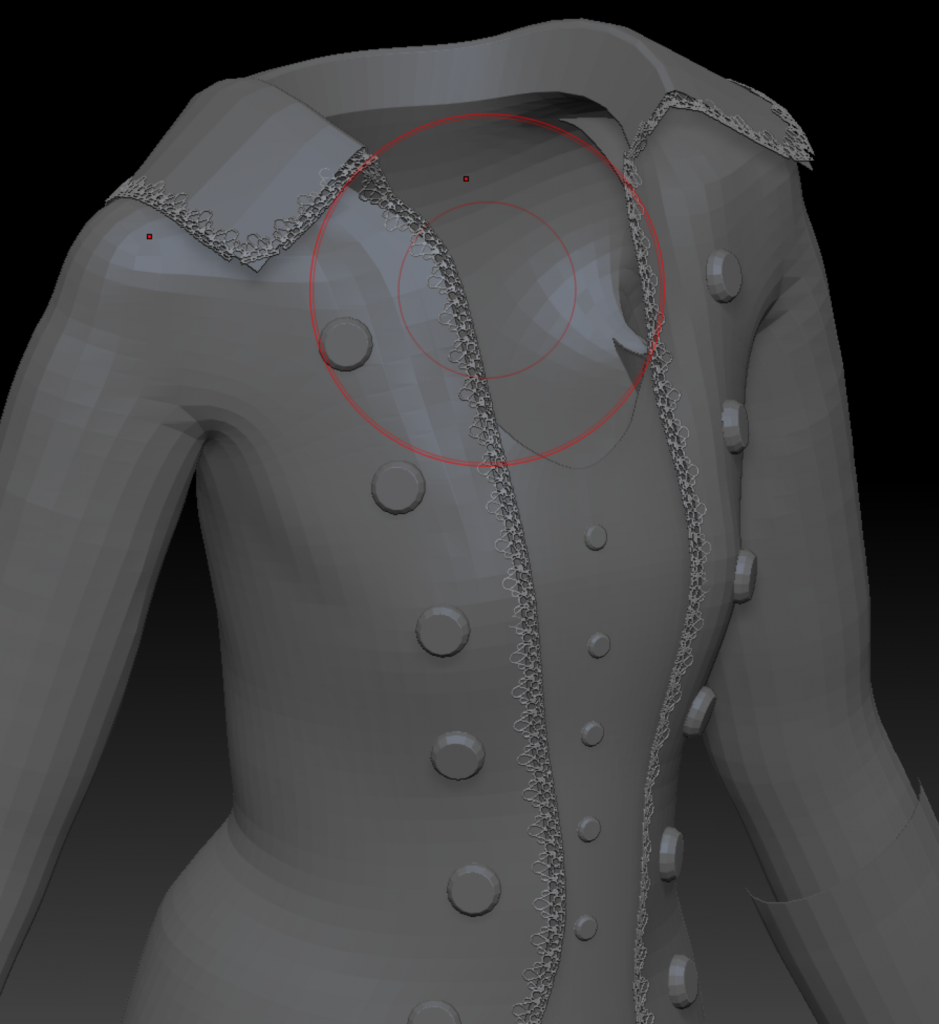
using metahuman to create character base. still not sure if I will use this, but I will use it as a base to model the clothes off of

can use topowrap to trasfer topology between meshes:
can add custom clothing to metahuman in unreal
adding physics to the clothing:
E2
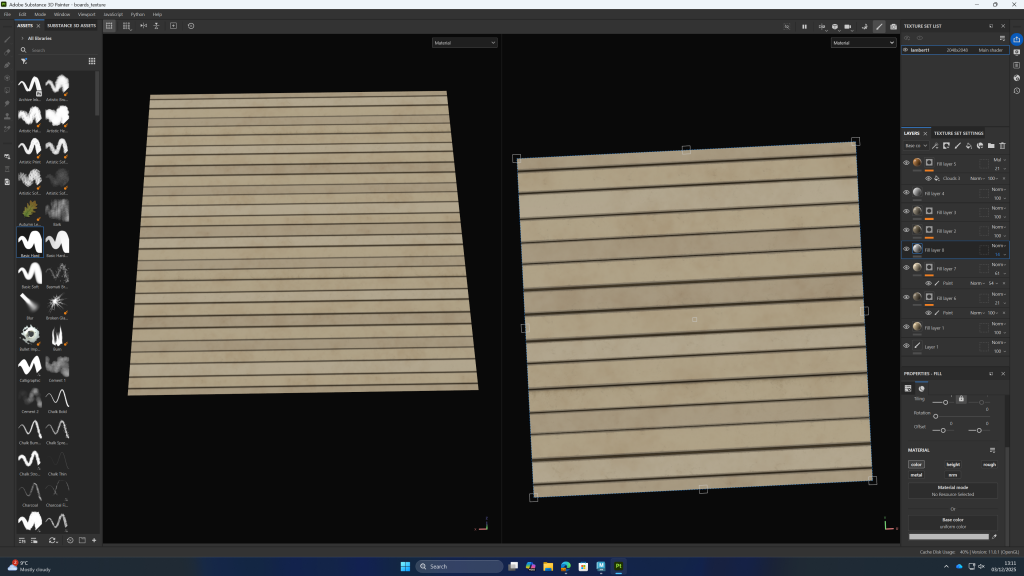
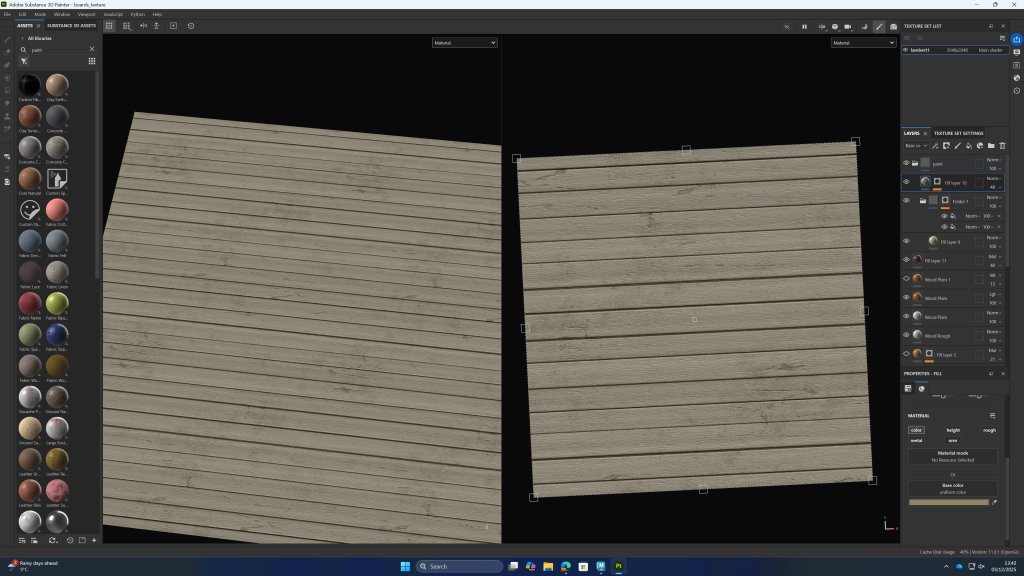
making tile-able textures with maya and substance painter:
boards:
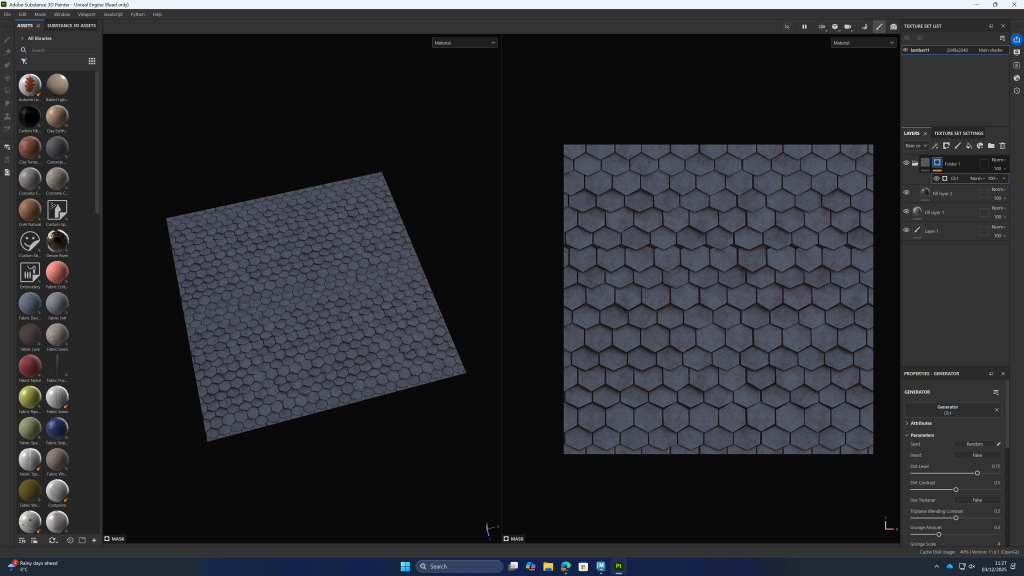
shingles:
command for making corners:
polyMirrorCut 1 1 0.001
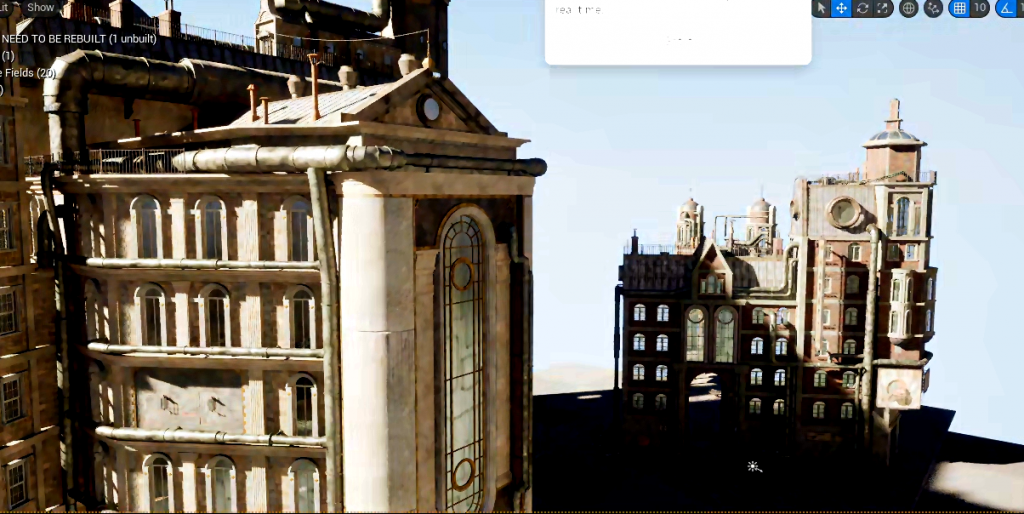
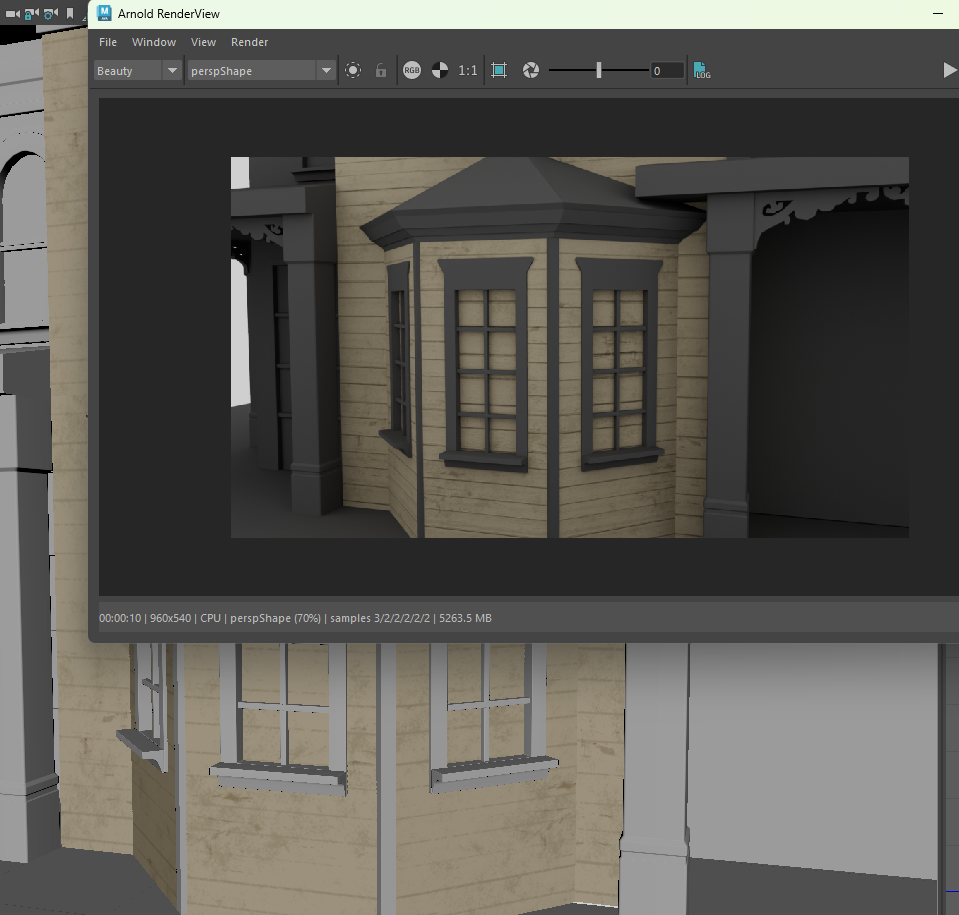
feedback was to experiment with how bevelling edges will look by doing test renders in unreal engine. also see how textures will look on both versions. this is to check if the extra time spent on topology will make a difference or if it can be mostly textures.
also leaving edges too sharp may cause artefacts in substance designer, however deciding not to bake the model in substance may mitigate this, as unreal engine can bake lighting or light the assets in real time.
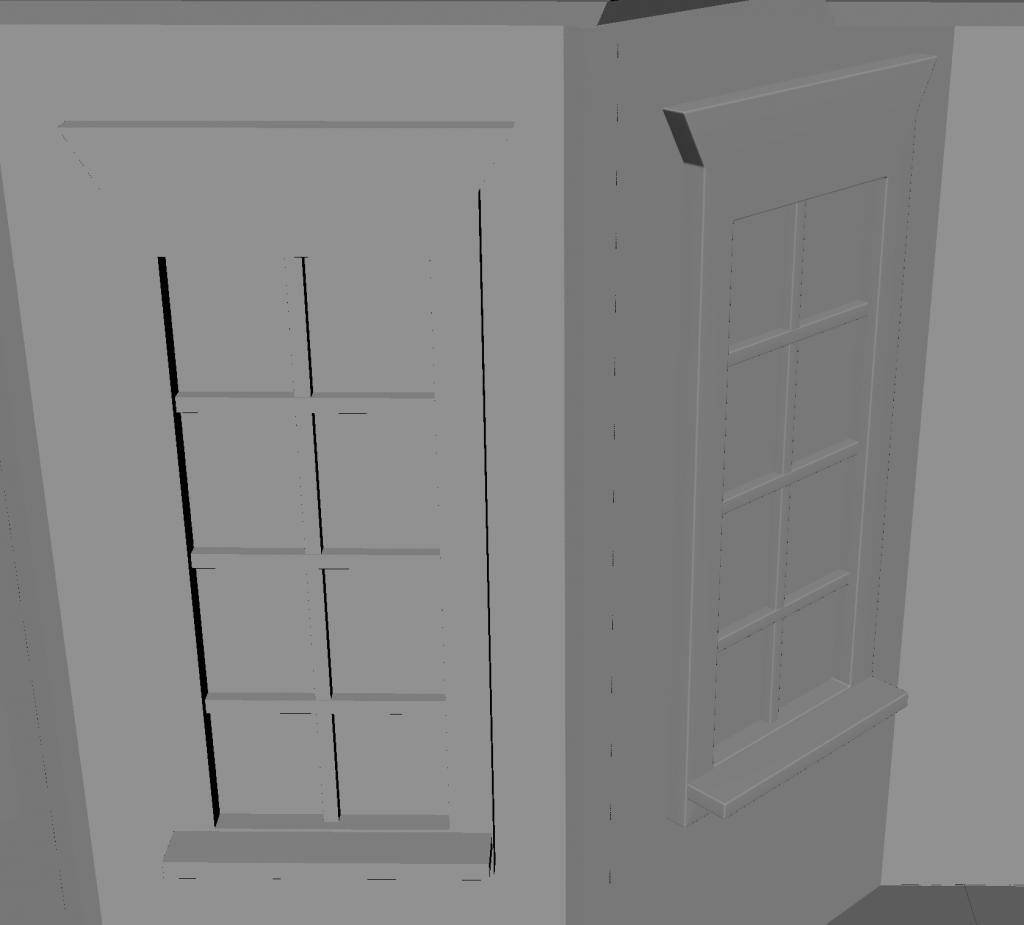
also encouraged to think about how flat textures will look for the roof tiles, and where it might be worth adding modelled tiles (such as on the edges of the roof) to create believability and appealing detail. this also applies to the window, where might it be worth creating a variety of shapes as at the moment it is all square. the wooden dividers for the glass pains could be more cylindrical which would create more variety in the shapes and therefore look more interesting.
I will also consider where i can add decals and which parts will have to be unique pieces (not modular) to make the scene more believable.
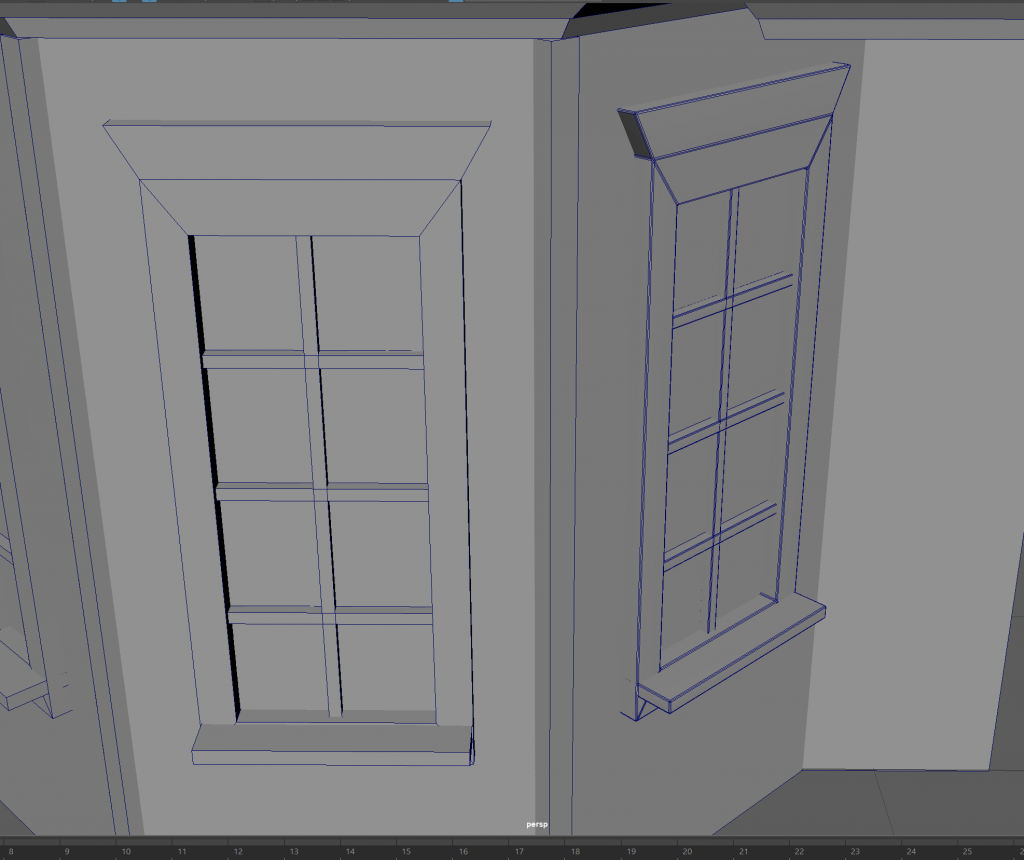
when asked lecturer weather to bevel edges for modular pieces or not it was recommended to test how each looked in my desired render engine.
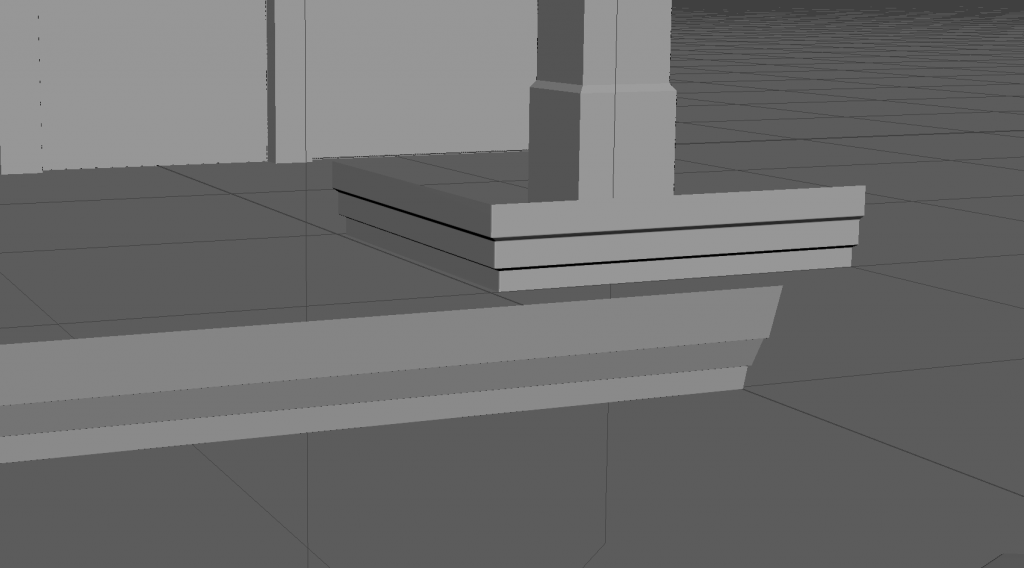
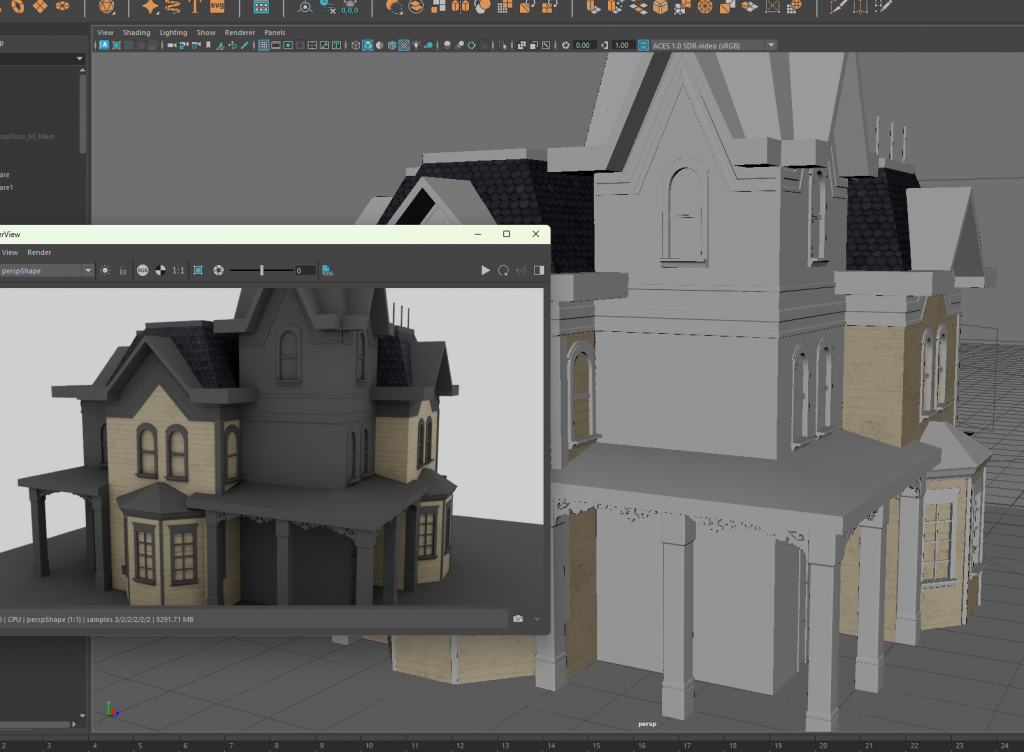
accidentally had shade smooth on the non bevelled window making it look wrong
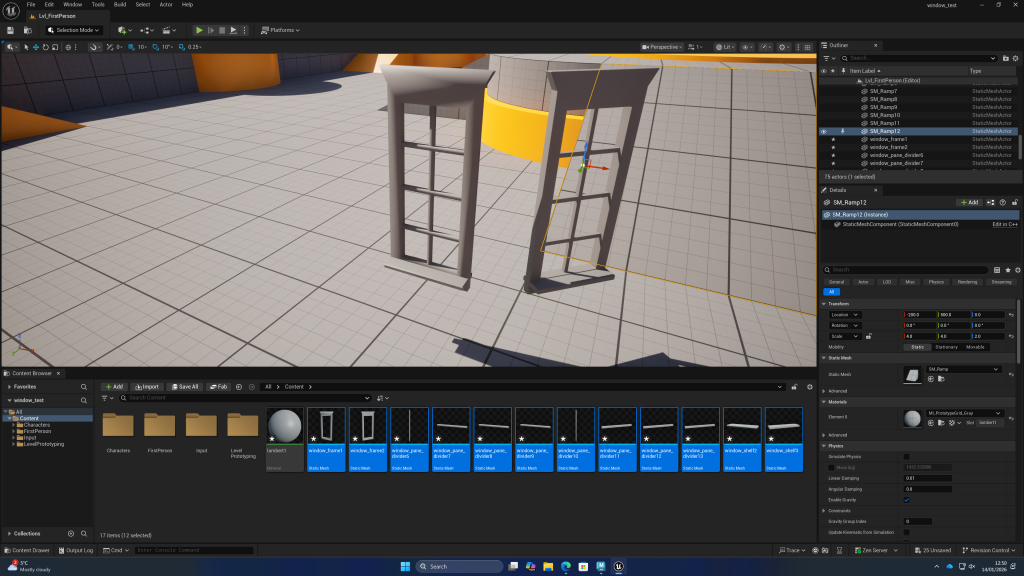
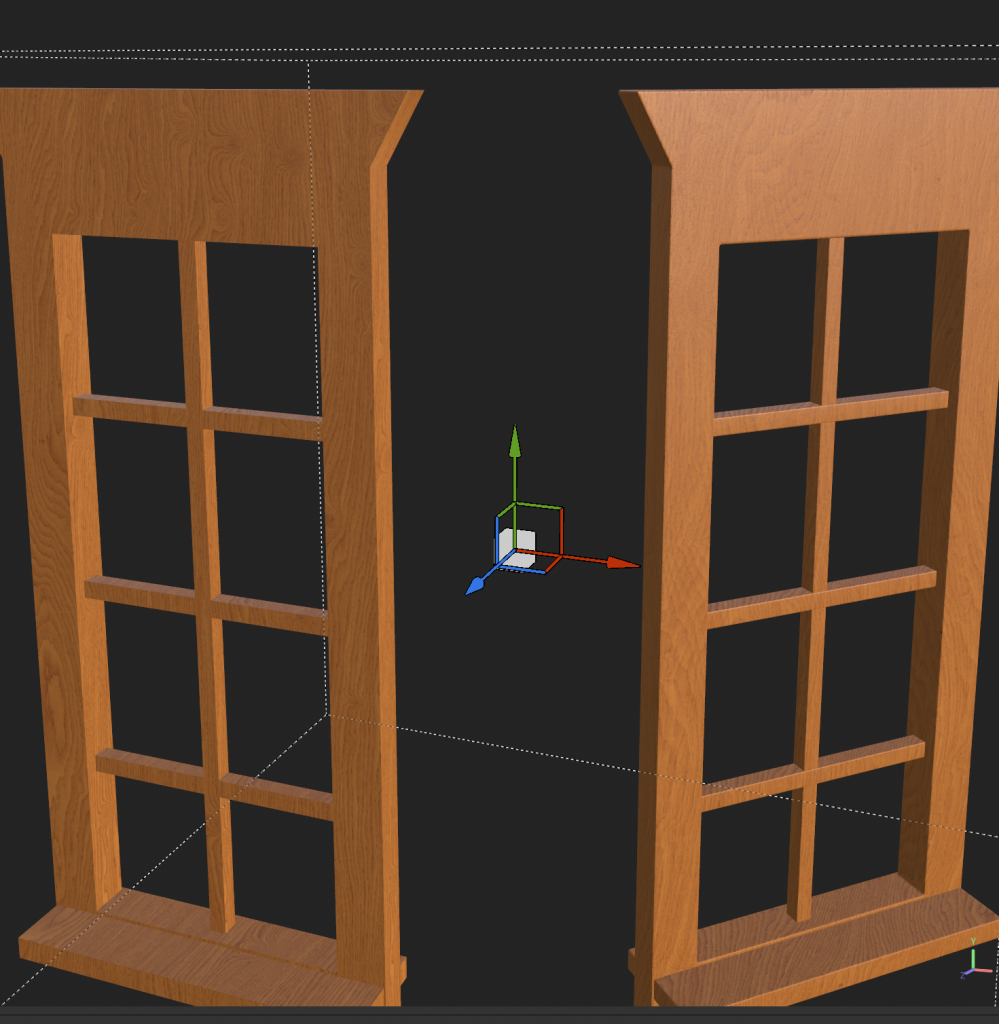
without textures the difference is big enough to prefer the bevelled asset
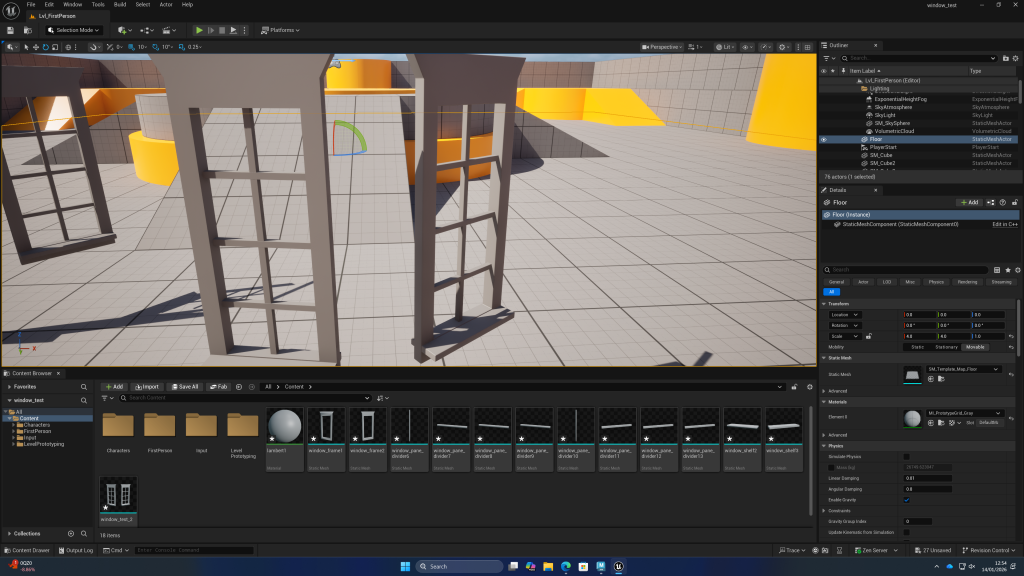
from this experiment I have concluded to bevel the modular pieces of my environment as it looks significantly more realistic in the chosen render engine.
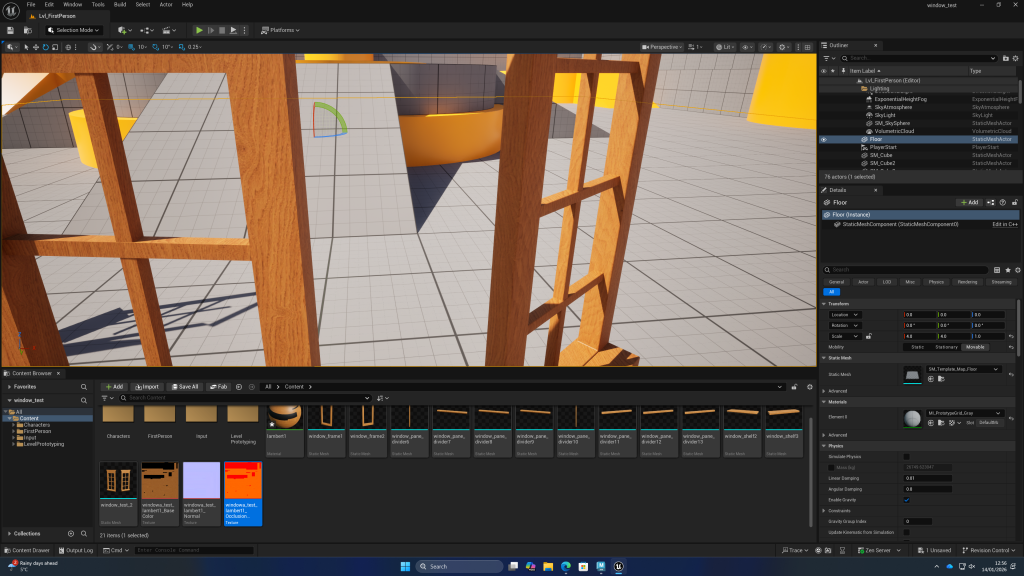
but feedback was to be aware of how shapes intersect and to put variety in the shape language of the models, such as rounding off some corners.
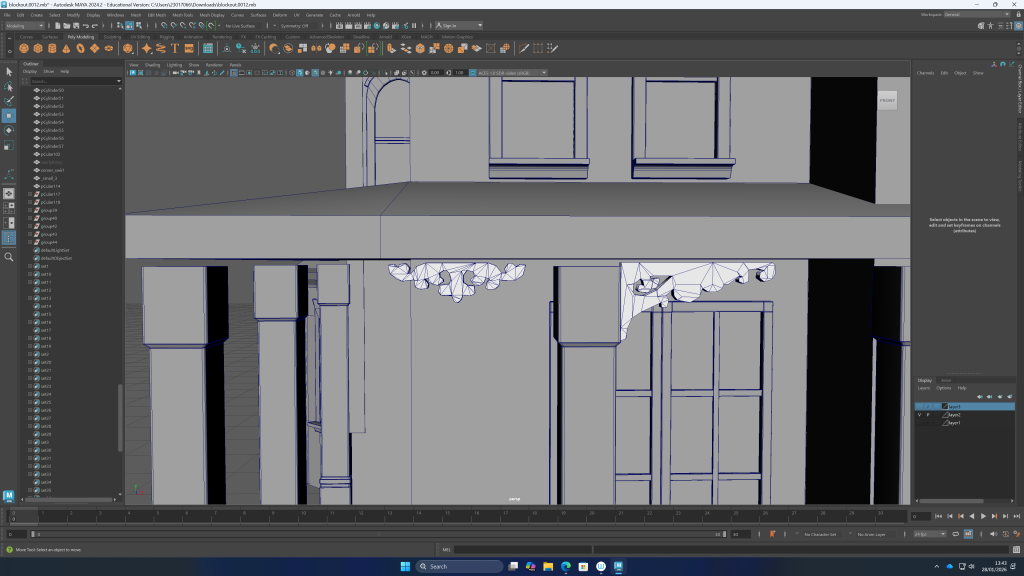
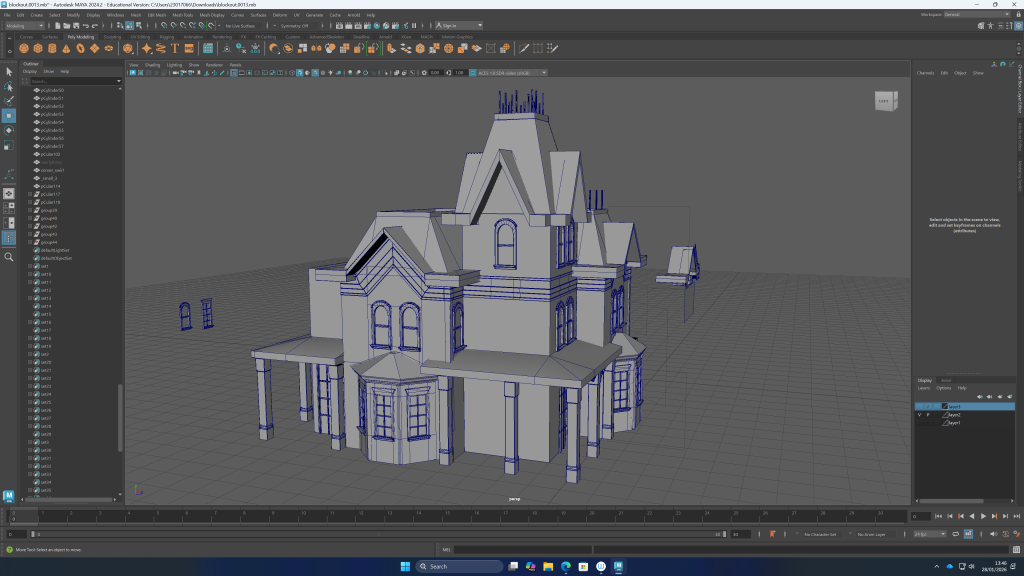
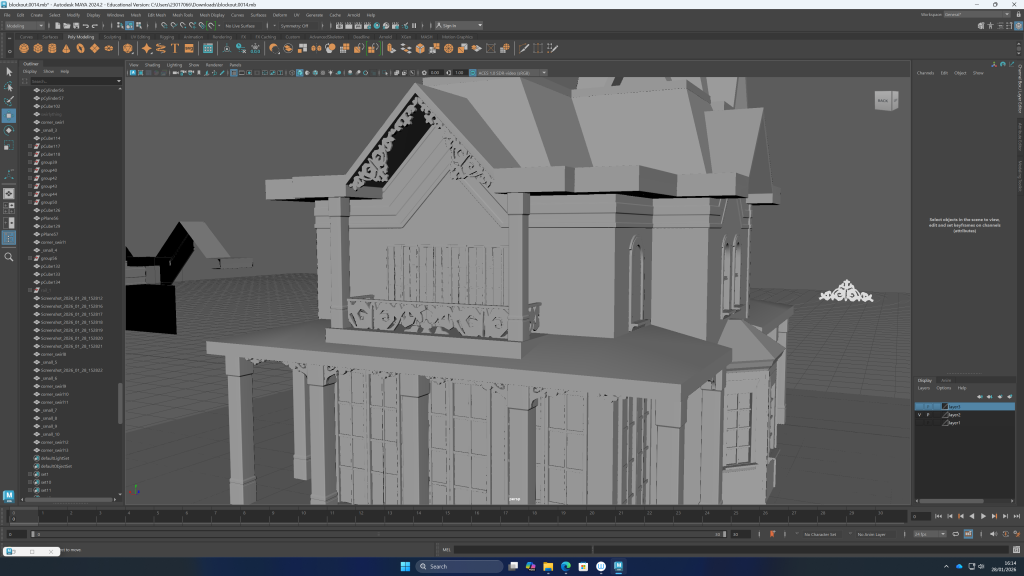
continuing mansion block out:
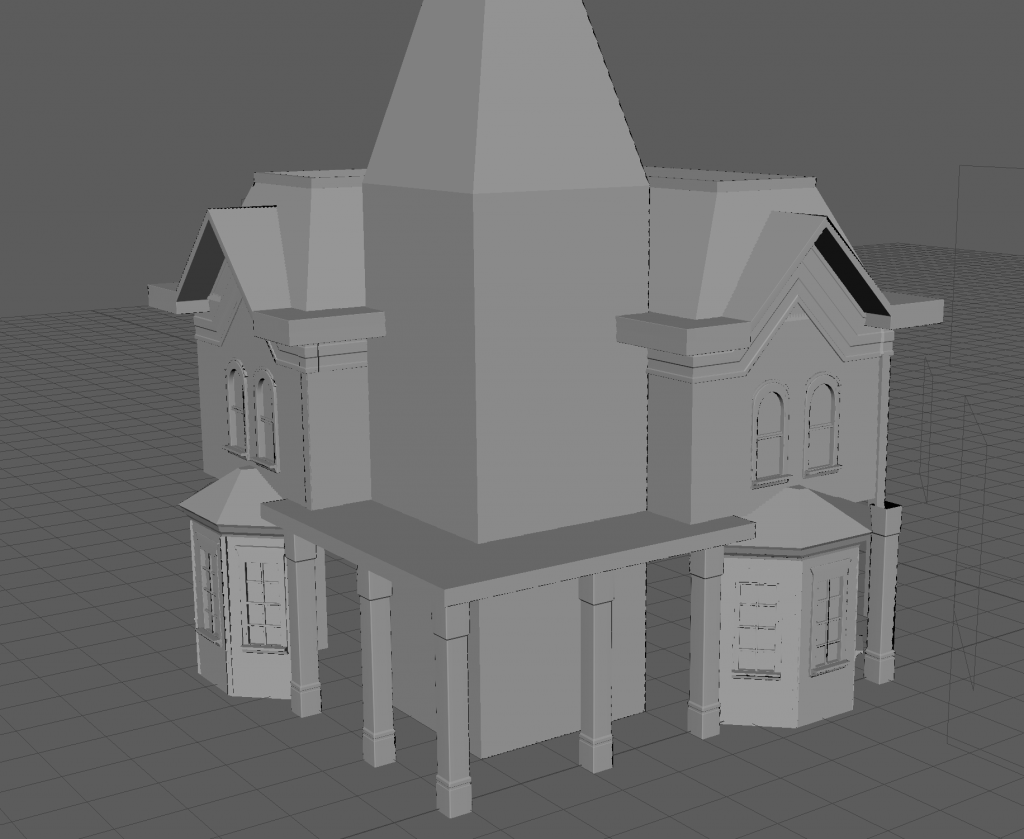
to make the ornamental pieces, I used a black and white image and converted texture to geometry
Leave a Reply